How to Fix a Broken Kitchen Island Outlet
Learn how to diagnose and repair a broken pop-up countertop outlet on a kitchen island, including replacing the module and resetting GFCI protection.
Kitchen island pop-up outlets are convenient, but when they stop working it is rarely obvious why. The outlet might be dead because of a tripped breaker, a GFCI upstream, a failed internal module, or a loose wire inside the housing.
Kitchen island pop-up outlets are convenient, but when they stop working it is rarely obvious why. The outlet might be dead because of a tripped breaker, a GFCI upstream, a failed internal module, or a loose wire inside the housing. Working through these causes systematically gets you to the fix in under an hour for most problems.
How Pop-Up Countertop Outlets Work
A pop-up outlet is a retractable housing installed in a cutout in the countertop. You push or turn the top cap to raise the outlet module above the surface, and push it back down when not in use. Inside the countertop, a junction box or direct wiring connects the pop-up housing to the home’s electrical circuit. Because they are near food prep areas, they are required to be on a GFCI-protected circuit.
Step 1 — Check the GFCI and Breaker First
Before touching the pop-up housing, check the circuit breaker panel for a tripped breaker. A tripped breaker sits in a middle position between ON and OFF — reset it by pushing it fully to OFF, then back to ON.
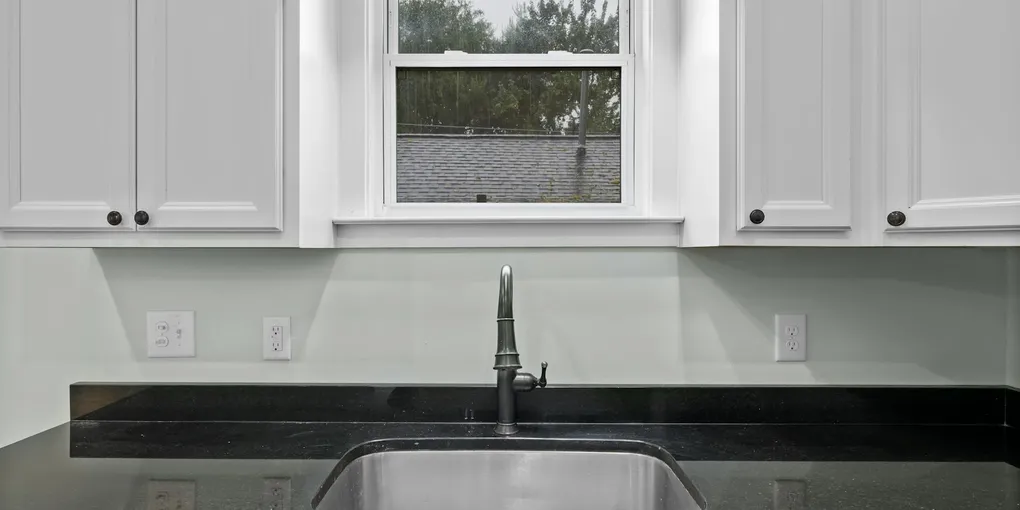
Next, locate the GFCI outlet on the same circuit. In most kitchens, the GFCI protection originates at a dedicated outlet — often one you can see on a wall near the sink. Press the TEST button on that outlet, then press RESET. Return to the island outlet and test with a lamp or phone charger. If it works now, you are done.
Use a Klein Tools Non-Contact Voltage Tester to safely confirm whether voltage is reaching the pop-up housing before opening it.
Step 2 — Shut Off the Circuit
Once you have confirmed the breaker and GFCI are not the issue, turn off the circuit breaker for the island outlet. Verify with your voltage tester that the outlet is dead before proceeding. Never work on an energized outlet.
Step 3 — Access the Pop-Up Housing
Most pop-up outlets have a locking ring under the countertop that holds the housing in the cutout. Reach underneath the island and turn the ring counterclockwise — some use a spanner wrench, others turn by hand. Once the ring is loose, you can lift the housing up and out through the countertop cutout.
Step 4 — Inspect the Wiring
With the housing out, examine the wire connections going into the housing. Look for:
- Loose push-in connectors — give each wire a firm tug to confirm it is seated
- Burned or melted insulation indicating a short or overload
- Corroded terminal screws — common in older installations
If any wiring appears burned or the wire insulation is damaged, stop and call an electrician. If connections simply look loose, re-seat them firmly and test before replacing the module.
Step 5 — Replace the Module
If wiring is intact but the outlet still does not work, the module itself has failed. Remove the module from the housing by pressing the release tabs or unscrewing the retaining collar, depending on your brand. Note how the wires connect — take a photo before disconnecting anything.
Install the new module by connecting the wires to the matching terminals (black to brass/hot, white to silver/neutral, green or bare to green/ground). Snap or screw the module into the housing.
The Leviton TBR20 Countertop Pop-Up Outlet Module is a widely compatible replacement for many standard-size pop-up housings.
Step 6 — Reinstall and Test
Lower the housing back into the countertop cutout and thread the locking ring clockwise from below until it is snug. Restore power at the breaker. Raise the pop-up cap and test both receptacles with a plug-in outlet tester that also indicates proper grounding.
Step 7 — Verify GFCI Protection
If the housing does not have a built-in GFCI module, confirm that the upstream GFCI outlet still protects this circuit by pressing TEST on the GFCI and confirming the island outlet loses power, then pressing RESET to restore it. The NEC requires this protection; do not skip this verification.
Safety Reminders
- Always confirm power is off with a voltage tester before opening any electrical housing.
- Do not use a pop-up outlet with a damaged cord or wet hands.
- If the housing shows heat damage inside, replace the entire unit — not just the module — and have an electrician review the circuit load before restoring power.
- Step 1 — Check the GFCI and Breaker First
Before touching the pop-up housing, check the circuit breaker panel for a tripped breaker. A tripped breaker sits in a middle position between ON and OFF — reset it by pushing it fully to OFF, then back to ON.
- Step 2 — Shut Off the Circuit
Once you have confirmed the breaker and GFCI are not the issue, turn off the circuit breaker for the island outlet. Verify with your voltage tester that the outlet is dead before proceeding. Never work on an energized outlet.
- Step 3 — Access the Pop-Up Housing
Most pop-up outlets have a locking ring under the countertop that holds the housing in the cutout. Reach underneath the island and turn the ring counterclockwise — some use a spanner wrench, others turn by hand.
- Step 4 — Inspect the Wiring
Loose push-in connectors — give each wire a firm tug to confirm it is seated
- Step 5 — Replace the Module
If wiring is intact but the outlet still does not work, the module itself has failed. Remove the module from the housing by pressing the release tabs or unscrewing the retaining collar, depending on your brand.
- Step 6 — Reinstall and Test
Lower the housing back into the countertop cutout and thread the locking ring clockwise from below until it is snug. Restore power at the breaker.
Free: 10-Point Home Maintenance Checklist
Prevent costly repairs with this seasonal checklist. Save hundreds every year by catching problems early.
Your checklist is ready!
Open Checklist →Something went wrong. View the checklist here.