How to Fix a Broken Kitchen Island Leg
Learn how to repair or replace a broken kitchen island leg with the right tools, materials, and techniques to restore stability and appearance.
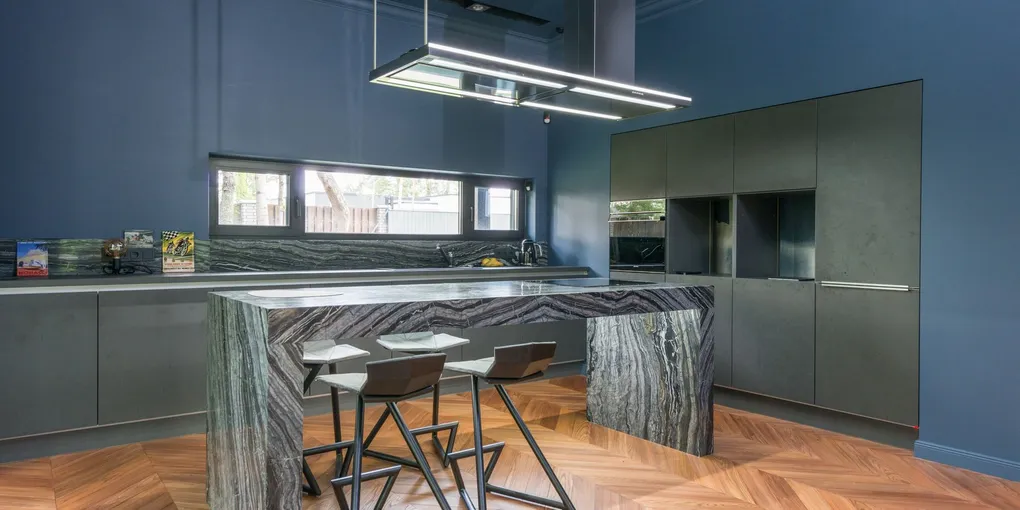
A broken kitchen island leg is an eyesore and, depending on the design of your island, a structural concern.
A broken kitchen island leg is an eyesore and, depending on the design of your island, a structural concern. Whether the leg cracked from a heavy impact, loosened from the mounting hardware, or split along the grain over time, this is a repair most homeowners can handle with basic tools and a little patience.
This guide walks through diagnosing the damage, attempting a repair when possible, and replacing the leg when repair is not viable.
Diagnosing the Problem First
Not all broken island legs are the same. The repair approach depends on what actually failed.
Loose leg: The leg is intact but wobbles because the mounting hardware has worked loose. This is the simplest fix — usually just tightening a hanger bolt, a leveling foot, or the screws on a mounting plate.
Cracked leg: The wood has split along the grain. The leg may still be in one piece but is weakened. Wood glue and clamping can often restore structural integrity if caught early.
Broken leg: The leg has fractured completely, often at the top or bottom where stress concentrates. This typically requires full replacement.
Stripped or broken hardware: The hanger bolt inside the leg has stripped out, or the mounting bracket has failed. Sometimes the hardware can be replaced without touching the leg itself.
What You Need
- Wood glue (Titebond III or equivalent) — for crack repairs
- Bar clamps or pipe clamps — to hold repairs while glue cures
- Wood filler or wood putty
- Replacement kitchen island leg — if full replacement is needed
- Hanger bolt set — for remounting the leg
- Drill and drill bits
- Socket wrench or pliers
- Sandpaper (80, 120, and 220 grit)
- Wood primer and matching paint or stain
- Level
- Carpenter’s square
Step 1 — Clear the Island and Assess the Load
Move everything off the island countertop. Check whether the island is resting on its cabinet boxes or primarily on its legs by carefully lifting one corner slightly. If the island shifts or the top has noticeable flex, the legs are load-bearing and must be repaired or replaced with equivalent structural hardware.
If the legs are purely decorative (the cabinet boxes carry the weight), the repair is cosmetic and you have more flexibility in your approach.
Step 2 — Remove the Damaged Leg
Most kitchen island legs attach with one of three methods:
Hanger bolt: A dual-threaded bolt with wood threads on one end and machine threads on the other. The wood end screws into the leg, and the machine end passes through a bracket or plate on the island base and is secured with a nut. To remove: unthread the nut at the base, then rotate the leg counterclockwise to unscrew it from the wood.
Mounting plate: A metal bracket is screwed to the island base, and the leg screws into a threaded insert in the top of the leg. Remove the screws holding the plate to the island, then unscrew the leg from the plate.
Direct-screw: Screws pass up through the island base directly into the top of the leg. Remove the screws from inside the island cabinet.
Set the damaged leg aside on a workbench.
Step 3 — Repair a Cracked Leg
If the crack is along the grain and both sides are still intact, a glue-up repair is worth attempting before replacing the leg.
- Open the crack as wide as you can without forcing it further. Use a thin palette knife or a piece of cardboard to work wood glue deep into the crack on both surfaces.
- Press the crack closed and apply clamps. The clamp pressure should be firm but not crushing — you are closing the joint, not compressing the wood fibers.
- Wipe away any glue squeeze-out immediately with a damp cloth.
- Leave the leg clamped for at least 24 hours. Most wood glues reach full strength at 24 hours at room temperature.
- After the glue cures, sand the repaired area smooth. Fill any remaining gaps or surface irregularities with wood filler, allow it to dry fully, and sand again.
- Prime and repaint or stain to match.
Step 4 — Replace a Broken Leg
When the leg cannot be repaired, source a replacement. Measure the existing legs carefully before ordering:
- Total length from the top mounting surface to the bottom floor contact point
- Top tenon diameter or mounting plate dimensions
- Style — turned, tapered, straight, or ornate decorative profile
- Wood species and finish — match as closely as possible
Once the replacement leg arrives, install it using the same mounting method as the original. If the original used a hanger bolt:
- Thread the wood-thread end of the new hanger bolt into the top of the replacement leg using two nuts locked together as a driver (thread two nuts onto the machine-thread end, tighten them against each other, then use a wrench on the outer nut to turn the bolt).
- Pre-drill a pilot hole into the leg top slightly smaller than the bolt shank diameter to prevent splitting.
- Thread the leg onto the island base bracket and tighten the retaining nut.
Step 5 — Level and Plumb the Repaired Leg
With the leg reinstalled, use a level to verify it is plumb on two perpendicular sides. If the island has adjustable leveling feet inside the legs, use them to fine-tune the height until the countertop is level front-to-back and side-to-side.
Check that the leg sits flat against the island cabinet box at the top. If there is a gap, add a corner bracket at the inside top corner to pull the leg tight and add rigidity.
Step 6 — Finish and Refinish
Sand the repaired or new leg through 120-grit and finish with 220-grit for a smooth surface. Apply a coat of wood primer, allow it to dry fully, then apply two coats of matching paint in the same sheen. Lightly sand with 220-grit between coats for the smoothest finish.
If the island is stained rather than painted, use a gel stain for better color-matching control, followed by two coats of a clear protective finish such as polyurethane.
Long-Term Prevention
- Tighten leg mounting hardware annually. The vibration of kitchen use works fasteners loose over time.
- Avoid leaning or sitting on the island corners where concentrated load is most likely to crack a leg.
- Place protective pads under any items that rest long-term on the countertop near the legs to prevent localized stress.
Related Reading
- How to Repair Kitchen Cabinet Doors
- How to Install Kitchen Cabinet Hardware
- How to Fix a Sagging Cabinet Shelf
- Step 1 — Clear the Island and Assess the Load
Move everything off the island countertop. Check whether the island is resting on its cabinet boxes or primarily on its legs by carefully lifting one corner slightly.
- Step 2 — Remove the Damaged Leg
Most kitchen island legs attach with one of three methods:
- Step 3 — Repair a Cracked Leg
If the crack is along the grain and both sides are still intact, a glue-up repair is worth attempting before replacing the leg.
- Step 4 — Replace a Broken Leg
When the leg cannot be repaired, source a replacement. Measure the existing legs carefully before ordering:
- Step 5 — Level and Plumb the Repaired Leg
With the leg reinstalled, use a level to verify it is plumb on two perpendicular sides. If the island has adjustable leveling feet inside the legs, use them to fine-tune the height until the countertop is level front-to-back and side-to-side.
- Step 6 — Finish and Refinish
Sand the repaired or new leg through 120-grit and finish with 220-grit for a smooth surface. Apply a coat of wood primer, allow it to dry fully, then apply two coats of matching paint in the same sheen.
Free: 10-Point Home Maintenance Checklist
Prevent costly repairs with this seasonal checklist. Save hundreds every year by catching problems early.
Your checklist is ready!
Open Checklist →Something went wrong. View the checklist here.