How to Fix a Broken Interior Wall Texture
Match and restore orange peel, knockdown, or skip-trowel wall texture over a drywall patch so the repair blends seamlessly with the surrounding wall.
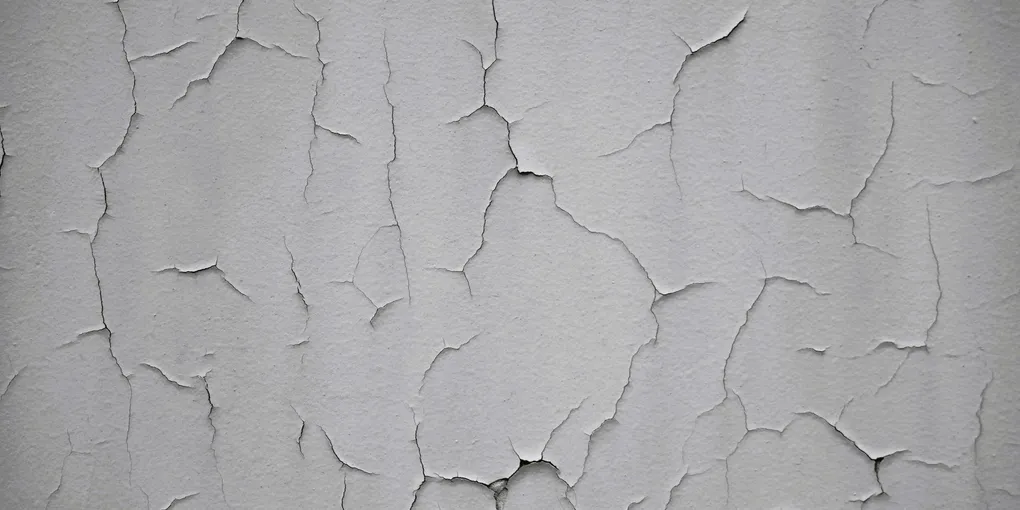
Matching interior wall texture in a repair: (1) Orange peel (most common): thin joint compound to paint consistency, spray with an aerosol orange peel can or hopper gun. Hold 12 to 18 inches away, apply in light even coats. Test on cardboard first to match bead size. (2) Knockdown: apply with a sponge or spray on heavier compound, let flash 10 minutes until dull, then lightly drag a drywall knife almost flat across the peaks. (3) Skip trowel: apply compound in random arcs with a drywall knife, vary thickness and direction, leave 40 to 60% bare between applications. (4) Popcorn (acoustic): use aerosol popcorn texture for small repairs; large repairs need a hopper gun with popcorn texture mix. (5) Before texturing: prime bare drywall with PVA primer. (6) After drying: paint the patched area to blend. Matching paint sheen matters as much as matching texture — a flat finish hides texture seams much better than eggshell or semi-gloss.
Frequently Asked Questions
How do I figure out what type of texture is on my wall?
Shine a raking flashlight beam across the wall at a low angle. Orange peel texture looks like the skin of an orange with small bumps all the same size. Knockdown has larger flat islands with irregular edges. Skip-trowel has broad, overlapping trowel marks with random raised edges. Popcorn is chunky and heavily dimensional and usually only appears on ceilings.
Can I use a spray can to match orange peel texture?
Yes. Aerosol orange peel texture cans are widely available at hardware stores and work well for small repairs. Practice the spray pattern on cardboard first to dial in the droplet size before spraying the wall.
Why does my texture patch look different after painting?
Fresh joint compound is more porous than the surrounding dried texture, so it absorbs paint at a different rate and reflects light differently. Priming the textured patch before the finish coat is essential for a consistent final appearance.
Do I need to skim coat before applying texture?
Yes. The patched drywall area must be smooth, primed, and free of ridges or paper tears before applying texture. Any imperfections under the texture will be visible in the final result.
What is the difference between knockdown and skip-trowel texture?
Both use joint compound applied with a trowel or hopper and then partially flattened, but they differ in scale and rhythm. Knockdown uses a broader knife dragged lightly to flatten random blobs. Skip-trowel uses overlapping hand-trowel strokes applied at an angle, creating a more deliberate layered pattern.
How long should I let texture dry before painting?
Allow at least 24 hours before priming. The texture must be completely dry and uniformly white with no gray or darker spots. In humid conditions or with thick coats, wait 48 hours to be safe.
Matching interior wall texture in a repair: (1) Orange peel (most common): thin joint compound to paint consistency, spray with an aerosol orange peel can or hopper gun. Hold 12 to 18 inches away, apply in light even coats.
Patching a hole in drywall is satisfying — until you realize the smooth patch stands out like a bald spot next to the textured wall around it. Matching existing wall texture is the finish line of any drywall repair, and it is a skill that rewards patience and practice. This guide covers the three most common interior textures: orange peel, knockdown, and skip-trowel.
Get the Patch Right First
No texture technique can save a poorly prepared patch. Before applying any texture, your patch must be flush with the surrounding wall, fully dried, and primed. Sand the patch with 120-grit sandpaper until it is perfectly flush — run a straightedge across it to confirm. Wipe away all dust with a damp cloth, let the surface dry, then apply a coat of drywall primer. This seals the compound so it does not absorb texture material unevenly.
Identify Your Texture
Hold a flashlight at a 10-degree angle to the existing wall surface in a dark room and study the shadow pattern closely:
- Orange peel: Consistent small bumps, all roughly the same size, with no flat interrupted areas between them.
- Knockdown: Irregular flat islands of compound separated by recessed valleys. Islands have soft, feathered edges.
- Skip-trowel: Overlapping curved trowel strokes, more directional than knockdown, with a handcrafted look.
Tools and Materials
- All-purpose joint compound (pre-mixed)
- Drywall primer
- Paint roller with 3/8-inch nap
- 6-inch and 10-inch drywall knives
- Aerosol texture spray (orange peel) or hopper sprayer
- Mud pan
- Fine-mist spray bottle with water
- 120-grit sandpaper
For small orange peel repairs, an aerosol wall texture spray is the fastest tool available. For larger areas or knockdown work, a hopper-style texture sprayer gives you much more control over droplet size and pattern density.
Applying Orange Peel Texture
Orange peel is the most forgiving texture to match because it is applied with a spray and dries quickly.
Spray can method (patches up to 2 square feet): Mask off a 6-inch border around the patch with painter’s tape and plastic. Hold the can 12 to 18 inches from the wall. Practice your spray speed and distance on cardboard until the droplet size matches the existing texture. Then apply to the wall in a slow, sweeping motion. The goal is to match the density and droplet size of the surrounding area — not to perfectly tile the pattern. Overlap slightly onto the existing texture at the edges so the transition is gradual.
Roller method: Thin all-purpose joint compound with water until it reaches a thick batter consistency. Pour it into a tray, load a 3/8-inch nap roller, and roll it onto the patch using light pressure and a stippling, bouncing motion rather than the smooth strokes you would use for paint. The nap creates the bumpy surface. Work quickly — you have about 5 to 10 minutes before the compound begins to set.
Applying Knockdown Texture
Knockdown requires a two-step process: apply blobs of compound, let them begin to set up, then flatten them.
Step 1 — Apply the blobs. Thin joint compound to a consistency slightly thicker than latex paint. Splatter it onto the patch using a brush dipped and flicked, or pour a small amount into a hopper sprayer set to a coarse splatter. The blobs should be roughly the same size as those on your existing wall — typically the size of a quarter to a half-dollar.
Step 2 — Knock it down. Wait 5 to 10 minutes until the compound loses its wet sheen but is still slightly pliable. Hold a 10-inch drywall knife nearly flat against the wall and drag it lightly across the surface with minimal pressure. This flattens the tops of the blobs into the irregular islands characteristic of knockdown. Do not press hard — you want to flatten, not smear. Wipe the knife clean on your mud pan between strokes.
Applying Skip-Trowel Texture
Skip-trowel is applied entirely by hand and has the most expressive look of the three common textures.
Load a 6-inch drywall knife with a thin layer of joint compound. Apply it to the wall with overlapping diagonal strokes, deliberately skipping areas and varying pressure so that the compound goes on in irregular patches. Rotate the knife angle frequently. Build up two or three thin overlapping passes rather than one heavy coat. The texture should look casual and layered, not uniform.
Let the compound begin to firm up slightly, then make one final light pass to soften any sharp ridges that would catch the eye after painting.
Prime and Paint
Once the texture is completely dry — bright white throughout with no gray areas — apply a coat of drywall primer-sealer over the entire repaired zone. This step is non-negotiable: without primer, the finish paint will absorb differently over the patch, creating a visible sheen difference called flashing. After the primer dries, apply your finish paint with a roller nap that matches what was used on the rest of the wall. Two coats of finish paint, fully dry between coats, will give you the best blend.
A Note on Patience
The most common reason texture patches stay visible is rushing the finish steps. Dry times are not suggestions — they are the difference between a seamless repair and a visible patch. When in doubt, wait another hour. Good light from a raking flashlight is your best quality-control tool: if you can see the repair under raking light before you paint, you need more work. If it disappears in raking light, it will certainly disappear under normal interior lighting once paint goes on.
- Get the Patch Right First
No texture technique can save a poorly prepared patch. Before applying any texture, your patch must be flush with the surrounding wall, fully dried, and primed.
- Identify Your Texture
Hold a flashlight at a 10-degree angle to the existing wall surface in a dark room and study the shadow pattern closely:
- Applying Orange Peel Texture
Orange peel is the most forgiving texture to match because it is applied with a spray and dries quickly.
- Applying Knockdown Texture
Knockdown requires a two-step process: apply blobs of compound, let them begin to set up, then flatten them.
- Applying Skip-Trowel Texture
Skip-trowel is applied entirely by hand and has the most expressive look of the three common textures.
- Prime and Paint
Once the texture is completely dry — bright white throughout with no gray areas — apply a coat of drywall primer-sealer over the entire repaired zone.
Free: 10-Point Home Maintenance Checklist
Prevent costly repairs with this seasonal checklist. Save hundreds every year by catching problems early.
Your checklist is ready!
Open Checklist →Something went wrong. View the checklist here.