How to Fix a Broken Garage Wall Shelf
Learn how to re-anchor a sagging or fallen garage wall shelf by finding studs, installing proper hardware, and securing brackets that hold real weight.
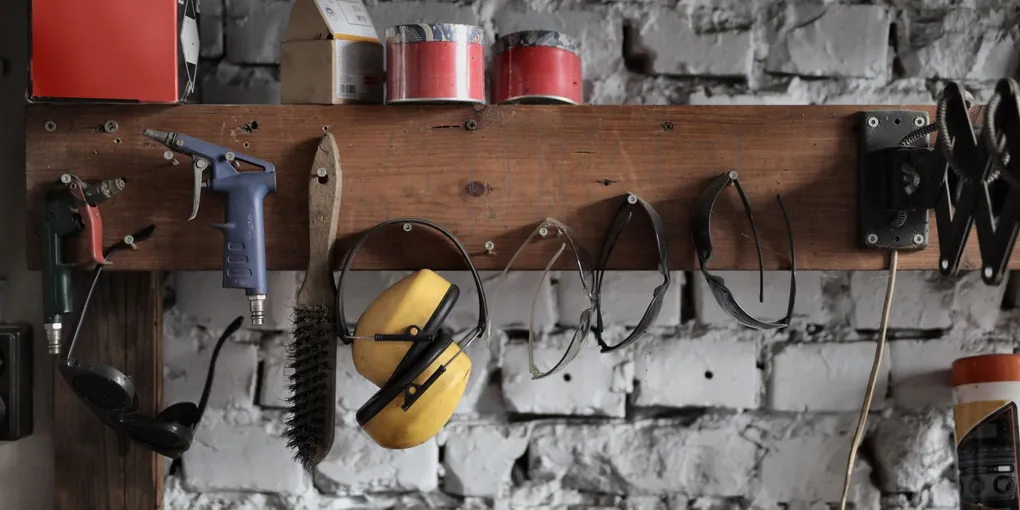
Fix a pulled-out garage wall shelf by removing the shelf, adding 2×4 blocking screwed into studs, and rehanging the bracket into solid wood. Screws into drywall anchors fail under load — the only lasting fix is hitting studs or solid blocking. A properly anchored shelf holds 100–200 lbs per bracket. The repair takes under an hour and costs $5–$20 in lumber.
A garage wall shelf that has pulled away from the wall is more than an inconvenience — it is a safety hazard, especially when it stores heavy tools, paint cans, or automotive supplies. The fix is not complicated, but it has to be done right. Most shelf failures come down to two problems: fasteners that missed the studs, or hardware that was simply not rated for the load. This guide shows you how to re-anchor a shelf so it will not come down again.
Assess the Damage
Before you start drilling, figure out what went wrong:
- Screws pulled out of drywall only — the most common failure; you need to find and hit the studs
- Screws stripped out of studs — the holes are stripped; you need to shift bracket position slightly or use larger fasteners
- Bracket bent or broke — the hardware was undersized for the load; replace the brackets with heavy-duty versions
- Shelf board cracked or split — the shelf material itself failed; replace with 3/4-inch plywood or solid pine
What You Will Need
- Stud finder
- Drill and drill bits
- Level
- Tape measure
- Pencil
- 3-inch coarse-thread wood screws or lag screws
- Heavy-duty shelf brackets (rated for your intended load)
- 2x4 or 2x6 ledger board (optional but recommended for heavy loads)
- Spackling compound and sandpaper (for patching old holes)
A quality stud finder is the single most important tool for this job — it removes the guesswork and prevents you from anchoring into nothing. Pair it with heavy-duty shelf brackets rated for at least 150 pounds per pair.
Step 1 — Remove the Old Shelf and Hardware
Take everything off the shelf and set it aside. Remove the shelf board and unscrew the brackets. Pull any anchors that are still embedded in the drywall. If screws snapped off inside the stud, use locking pliers or a screw extractor to remove the broken ends — leaving them in can interfere with new fasteners.
Step 2 — Patch the Old Holes
Fill any drywall holes with spackling compound. Smooth it flush with a putty knife and let it dry completely (usually 2 to 4 hours). Sand lightly and spot-prime if you plan to paint. For stripped stud holes, let them sit — you will be locating the new bracket position slightly to one side.
Step 3 — Find the Studs
Use a stud finder to locate the studs in your target area. Garage walls in most homes have studs spaced 16 or 24 inches on center. Mark each stud centerline with a light pencil mark at both the high and low position where brackets will go. Verify your marks by driving a small finish nail — if you hit wood, you have the stud.
Step 4 — Install a Ledger Board (Recommended)
For any shelf holding more than 50 pounds, skip individual bracket mounting and install a ledger board first. Cut a 2x4 or 2x6 to your desired shelf length. Hold it at the correct height and mark where it crosses each stud. Drill pilot holes, then drive 3-inch screws (or 5/16-inch lag screws for very heavy loads) into every stud the ledger crosses — that is a minimum of two studs, ideally three or more.
Use a level to confirm the ledger is perfectly horizontal before fully tightening the screws.
Step 5 — Mount the Brackets
Attach your shelf brackets to the ledger board using the manufacturer-specified hardware. Space them no more than 24 inches apart for a plywood shelf — closer for heavy or long spans. Make sure every bracket is vertical using a small level, and that the bracket tips are all at the same height.
For individual stud mounting without a ledger, drive at least two screws per bracket per stud hole — one near the top and one near the bottom of each mounting slot.
Step 6 — Install the Shelf Board
Set the shelf board on the brackets. For a permanent installation, pre-drill and screw through the brackets into the underside of the shelf. For a removable shelf, a few brad nails or a bead of construction adhesive at each bracket contact point will prevent sliding without making removal impossible.
Step 7 — Load Test Before Storing
Press down firmly on each end and the middle of the shelf. There should be zero flex in the brackets and no movement at the wall. If any bracket wiggles, find out why before loading the shelf — it means a fastener missed the stud or the ledger screw is not fully seated.
Keeping Your Garage Shelves Secure
- Do not exceed the shelf or bracket weight rating — heavy items like car batteries and tool chests belong on floor-level storage
- Redistribute weight if you notice any bracket starting to bow
- Use a shelf pin organizer kit if you want to convert fixed brackets to an adjustable system for future flexibility
A properly anchored garage shelf should hold steady for years. With the right fasteners in the right places, you will never have to pick tools up off the floor again.
- Step 1 — Remove the Old Shelf and Hardware
Take everything off the shelf and set it aside. Remove the shelf board and unscrew the brackets. Pull any anchors that are still embedded in the drywall.
- Step 2 — Patch the Old Holes
Fill any drywall holes with spackling compound. Smooth it flush with a putty knife and let it dry completely (usually 2 to 4 hours). Sand lightly and spot-prime if you plan to paint.
- Step 3 — Find the Studs
Use a stud finder to locate the studs in your target area. Garage walls in most homes have studs spaced 16 or 24 inches on center. Mark each stud centerline with a light pencil mark at both the high and low position where brackets will go.
- Step 4 — Install a Ledger Board (Recommended)
For any shelf holding more than 50 pounds, skip individual bracket mounting and install a ledger board first. Cut a 2x4 or 2x6 to your desired shelf length. Hold it at the correct height and mark where it crosses each stud.
- Step 5 — Mount the Brackets
Attach your shelf brackets to the ledger board using the manufacturer-specified hardware. Space them no more than 24 inches apart for a plywood shelf — closer for heavy or long spans.
- Step 6 — Install the Shelf Board
Set the shelf board on the brackets. For a permanent installation, pre-drill and screw through the brackets into the underside of the shelf.
Free: 10-Point Home Maintenance Checklist
Prevent costly repairs with this seasonal checklist. Save hundreds every year by catching problems early.
Your checklist is ready!
Open Checklist →Something went wrong. View the checklist here.