How to Fix a Broken Garage Drywall Ceiling
Learn how to repair and restore a damaged fire-rated garage drywall ceiling with the correct materials to maintain the fire barrier between your garage and living space.
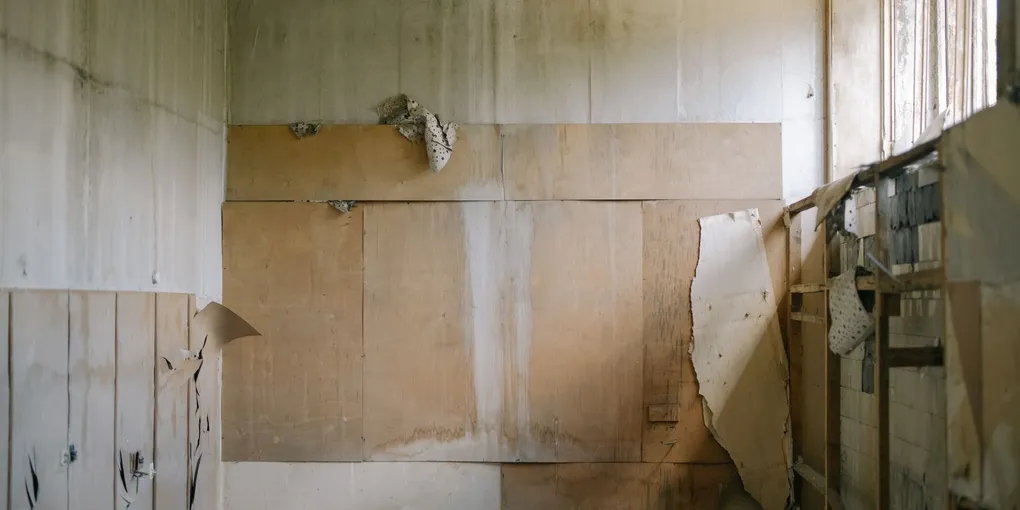
Fixing broken garage drywall ceiling: (1) Small holes (under 6 inches): use a drywall patch kit — self-adhesive mesh backed with aluminum, apply joint compound over, feather out 6 to 8 inches, sand, prime, paint. (2) Large holes: cut the damaged area back to the nearest joists, cut new drywall to fit, secure to the joists with 1-5/8 inch drywall screws, tape the seams with paper tape and joint compound, feather out, sand, prime, and paint. (3) Water-damaged drywall: before patching, find and fix the water source — a plumbing leak above or a roof leak. Treat any mold with a bleach solution and let dry fully. (4) Garage ceiling drywall is required by fire code on attached garages: it must be 1/2 inch or 5/8 inch Type X fire-rated drywall (check local code) between the garage and living space. Type X provides a 1-hour fire barrier. Repairs in this area must maintain the fire rating.
Frequently Asked Questions
Does a garage ceiling need special fire-rated drywall?
Yes. Building codes in the US require the ceiling and walls separating an attached garage from living space to use 5/8-inch Type X fire-rated drywall. This provides a minimum one-hour fire resistance rating. Using standard 1/2-inch drywall in a patch leaves a code-violating weak point in the fire barrier.
How do I know if my garage ceiling drywall is damaged enough to repair versus replace?
Small holes up to 6 inches can be patched with a drywall patch kit. Holes larger than 6 inches, or damage spanning multiple joist bays, should be cut back to the nearest joists and replaced with new panels. Water-damaged or moldy drywall must always be fully replaced.
Can I use joint compound on a fire-rated drywall repair?
Yes. Standard all-purpose or lightweight joint compound is appropriate for finishing fire-rated drywall repairs. The fire rating comes from the drywall panel itself, not from the compound or tape.
Do I need a permit to repair garage ceiling drywall?
For like-for-like repairs of existing fire-rated drywall, most jurisdictions do not require a permit. If you are replacing a large area or making structural changes, check with your local building department first.
How many screws does fire-rated garage ceiling drywall need?
For 5/8-inch Type X drywall on ceilings, drive screws every 12 inches along each joist. Use coarse-thread drywall screws long enough to penetrate the joist at least 1 inch — typically 1-5/8 inch screws for ceiling applications.
What causes garage ceilings to crack or break?
Common causes include heavy storage impact from above (if there is living space overhead), vibration from the garage door opener, water intrusion from a roof leak or plumbing above, and settling cracks from foundation movement. Identify and fix the root cause before patching or the damage will return.
Fixing broken garage drywall ceiling: (1) Small holes (under 6 inches): use a drywall patch kit — self-adhesive mesh backed with aluminum, apply joint compound over, feather out 6 to 8 inches, sand, prime, paint.
The ceiling of an attached garage is not just cosmetic — it is a critical fire barrier separating your car, fuel, and any stored chemicals from the rest of your home. When that ceiling is cracked, hole-punched, or otherwise compromised, it needs to be repaired correctly using the right materials. A proper fire-rated garage ceiling repair is a realistic DIY project that follows the same steps as any drywall repair, with one important distinction: you must use 5/8-inch Type X drywall.
Why the Fire Rating Matters
Type X drywall contains glass fibers and other additives that slow its combustion compared to standard drywall. The 5/8-inch thickness adds mass. Together, they give occupants the time needed to escape if a garage fire starts. Patching a fire-rated ceiling with standard 1/2-inch drywall — even if it looks identical — creates a weak point that violates building codes and reduces fire protection for your family.
Tools and Materials
- 5/8-inch Type X fire-rated drywall (enough to cover the repair area)
- Drywall screws, 1-5/8 inch coarse thread
- Cordless drill and drywall bit
- Drywall saw or oscillating multi-tool
- Tape measure and pencil
- Drywall joint tape (paper or fiberglass mesh)
- All-purpose joint compound
- 6-inch and 10-inch drywall knives
- Sandpaper (120-grit and 220-grit)
- Primer and paint to match existing ceiling
Step 1: Identify the Damage and Root Cause
Before cutting anything, determine what caused the damage. If it was a one-time impact (dropped tool, ladder accident), the fix is straightforward. If the damage came from water, trace the source and fix the leak before closing the ceiling — wet drywall will mold and fail again. Look for discoloration, soft spots, or sagging around the damaged area.
Step 2: Cut Back to the Joists
For holes larger than 6 inches, locate the joists on either side of the damage using a stud finder. Mark a clean rectangle that extends to the center of each adjacent joist. Use a drywall saw or oscillating multi-tool to cut along your lines. Remove the damaged section. You should now have a clean rectangular opening with joist edges exposed on the left and right sides.
For small holes under 6 inches, use a drywall patch kit with a metal backing plate — these self-adhesive kits let you skip the joist-cutting step for minor repairs.
Step 3: Add Backing if Needed
If the top and bottom edges of your cutout do not land on a joist, you need nailer boards. Cut pieces of 2x4 lumber and screw them horizontally to the inside of the existing drywall, flush with the ceiling surface, to give the patch edges something to fasten to. This is common when the damage runs perpendicular to the joists.
Step 4: Cut and Hang the Patch
Cut your 5/8-inch Type X drywall to fit the opening snugly. Ceiling work is easier with a helper — one person holds the panel while the other drives screws. Drive screws every 12 inches along each joist, keeping screw heads just below the surface without breaking the paper face. On ceiling work, a drywall lift or a simple T-brace made from scrap lumber can hold the panel while you fasten it solo.
Step 5: Tape and Mud
Apply paper tape or fiberglass mesh tape to all seams and press it flat with a 6-inch knife loaded with joint compound. Feather the first coat about 4 inches on either side of each seam. Let it dry completely — typically 24 hours at room temperature. Apply a second coat with a 10-inch knife, feathering 6 to 8 inches wide. A third thin finish coat eliminates visible edges. Each coat must dry fully before the next.
Step 6: Sand, Prime, and Paint
Sand the dried compound smooth with 120-grit paper, then finish with 220-grit. Wipe away dust with a damp cloth. Apply a coat of drywall primer — this step is essential on new compound, which will absorb paint unevenly without it. Once dry, paint to match the existing garage ceiling. Many garages use flat white paint, which is easy to touch up.
Maintaining the Fire Barrier Long-Term
Inspect your garage ceiling annually for new cracks, gaps around pipes or conduit that penetrate the ceiling, and any spots where the drywall has come away from the framing. Seal all penetrations with fire-rated caulk. A well-maintained fire-rated garage ceiling is one of the best passive safety investments in your home, and keeping it in good shape takes only occasional vigilance and the occasional patch.
- Identify the Damage and Root Cause
Before cutting anything, determine what caused the damage. If it was a one-time impact (dropped tool, ladder accident), the fix is straightforward.
- Cut Back to the Joists
For holes larger than 6 inches, locate the joists on either side of the damage using a stud finder. Mark a clean rectangle that extends to the center of each adjacent joist. Use a drywall saw or oscillating multi-tool to cut along your lines.
- Add Backing if Needed
If the top and bottom edges of your cutout do not land on a joist, you need nailer boards. Cut pieces of 2x4 lumber and screw them horizontally to the inside of the existing drywall, flush with the ceiling surface, to give the patch edges something t...
- Cut and Hang the Patch
Cut your 5/8-inch Type X drywall to fit the opening snugly. Ceiling work is easier with a helper — one person holds the panel while the other drives screws.
- Tape and Mud
Apply paper tape or fiberglass mesh tape to all seams and press it flat with a 6-inch knife loaded with joint compound. Feather the first coat about 4 inches on either side of each seam.
- Sand, Prime, and Paint
Sand the dried compound smooth with 120-grit paper, then finish with 220-grit. Wipe away dust with a damp cloth. Apply a coat of drywall primer — this step is essential on new compound, which will absorb paint unevenly without it.
Free: 10-Point Home Maintenance Checklist
Prevent costly repairs with this seasonal checklist. Save hundreds every year by catching problems early.
Your checklist is ready!
Open Checklist →Something went wrong. View the checklist here.