How to Fix a Broken Exterior Door Frame
Repair a rotted or damaged exterior door frame by removing the bad wood, treating the framing, and installing new casing and jamb material for a weathertight result.
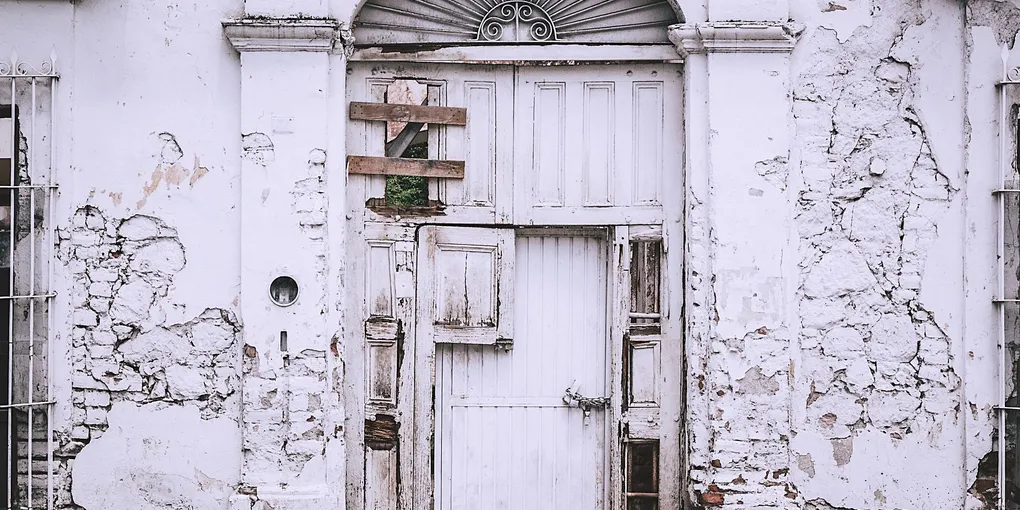
Repairing a broken exterior door frame: (1) Probe with a screwdriver — if the wood is soft, it's rotted and must be replaced, not patched. (2) For rot limited to the surface (1/2 inch or less): dig out all soft material with a chisel, treat with a wood hardener (Minwax High Performance Wood Hardener), apply epoxy wood filler (Abatron WoodEpox), shape while still soft, sand after curing, prime and paint. (3) For deep rot in the casing: replace the full length of the rotted casing section. Pry off the casing, inspect the king stud behind — if the framing is rotted, it needs structural repair before the frame can be replaced. (4) Split or cracked frame without rot: apply exterior waterproof wood glue into the split, clamp, and let cure. Seal the repaired area with caulk and paint. (5) Replace all cracked caulk around the door frame annually — water infiltration is the root cause of virtually all exterior door frame rot.
Frequently Asked Questions
How do I know if my exterior door frame is just cosmetically damaged or structurally rotted?
Use a screwdriver or awl to probe the wood. Sound wood will resist the tip firmly. Rotted wood will feel soft, spongy, or crumbly, and the tool will sink in easily. Check especially along the bottom of the door jambs and sill where water tends to pool. Cosmetic surface damage can be patched with epoxy filler. Any wood that is soft and spongy when probed needs to be cut out and replaced.
Can I repair rotted door frame wood with epoxy filler instead of replacing it?
Yes, for limited surface rot that has not penetrated deep into the wood. A two-part wood epoxy consolidant and filler system can harden compromised wood fibers, fill voids, and produce a paintable surface. This works well for a small area on the casing or sill where the rot is less than about an inch deep. However, deeply rotted jamb sections — especially where the hinges or strike plate are mounted — should always be replaced with new wood.
Does a broken exterior door frame affect home security?
Yes. The door frame is what the strike plate anchors into, and a rotted or cracked jamb in the strike plate area provides very little resistance to forced entry. A kick-in attack will split a soft or damaged jamb far more easily than a sound one. Repairing the frame and installing a security strike plate with 3-inch screws reaching the structural framing significantly improves door security.
What wood should I use to replace exterior door frame material?
Use rot-resistant wood for any exterior application. Good options include clear vertical-grain Douglas fir, Western red cedar, or primed finger-jointed pine treated for exterior use. For the door sill, a hardwood species like oak or a composite sill material is preferable because the sill takes direct foot traffic and water exposure. PVC trim boards are another excellent option for casings and jamb extensions because they will never rot.
How do I seal the exterior door frame after repair to prevent future rot?
Prime all cut wood surfaces immediately after cutting — including the end grain — with an exterior oil-based primer before installation. This is the most important step for preventing moisture intrusion. After installation, caulk all joints and gaps with a high-quality paintable exterior silicone or polyurethane caulk. Apply two coats of exterior paint over the primed and caulked surfaces.
My door does not close properly after frame damage. Is this a frame problem or a hinge problem?
Both are possible. A damaged frame can shift the door jamb out of plumb or square, causing the door to bind or not latch. First repair the frame and confirm it is plumb and straight. Then test the door. If it still binds, the hinge positions may need minor adjustment using shims behind the hinge leaf, or the strike plate may need to be repositioned to match where the latch bolt actually lands.
How much does it cost to repair or replace an exterior door frame?
DIY epoxy repair for surface rot: $20–$50 in materials (consolidant + filler). Casing section replacement (materials only): $30–$80 for lumber and trim. Full exterior door frame replacement by a carpenter: $400–$800 for the frame only, or $800–$2,000 if a new prehung door is included. Exterior door frame rot is almost always preventable with annual caulking and paint maintenance — a $10 tube of exterior caulk applied each fall prevents thousands of dollars in frame damage. If the rot has reached the king stud or framing behind the jamb, structural repairs are required before the new frame is installed, adding $200–$600 to the carpenter's bill.
How do I prevent exterior door frame rot from coming back after I repair it?
Prevention is more effective than repair: (1) Prime all cut wood end-grain with oil-based primer before installation — end grain is where moisture infiltrates fastest. (2) Apply two coats of quality exterior paint and repaint whenever the paint shows cracking or peeling, not years later. (3) Caulk all gaps — between the casing and siding, between the sill and threshold, and around any trim pieces — annually with an exterior paintable siliconized acrylic caulk. (4) Verify that the door threshold and sill plate drain away from the house, not back toward the door. (5) Install a drip cap (flashing) above the door if one is missing — this is the single most important moisture-exclusion element for an exterior door. (6) Keep plants and mulch 6 inches away from the door casing — contact with soil holds moisture.
Repairing a broken exterior door frame: (1) Probe with a screwdriver — if the wood is soft, it’s rotted and must be replaced, not patched.
An exterior door frame takes more punishment than almost any other wood surface in the house — direct sun, rain, standing water, and temperature extremes all conspire to degrade it over time. Rot in the bottom of a door jamb or damage to the exterior casing is extremely common, and the repair is more straightforward than it looks. Done right, a rebuilt door frame is weathertight, secure, and should last decades.
Diagnosing the Damage
Before buying materials, fully scope the damage. Start from outside and examine the entire frame: the two side jambs, the head jamb across the top, the exterior casing (the flat trim boards that cover the gap between the jamb and the siding), and the door sill at the bottom.
Probe every wood surface with a screwdriver. Sound wood resists the tip. Rotted wood is soft and the tool sinks in. Pay close attention to the bottom 12 inches of both side jambs, the corners where the casing meets the siding, and the sill — these are the areas that hold water and rot first.
If the rot is confined to the exterior casing only and the structural jamb behind it is sound, the repair is cosmetic. If the jamb itself is rotted — especially at the hinge or strike plate locations — you are doing a structural repair and must replace the jamb section completely.
What You Need
- Exterior wood epoxy filler kit — for small surface repairs
- Rot-resistant exterior lumber — cedar or PVC trim for replacement sections
- Exterior paintable caulk — polyurethane or silicone blend for sealing joints
- Exterior oil-based primer and paint
- Circular saw or reciprocating saw
- Pry bar and hammer
- Nail gun or hammer and exterior finish nails (galvanized or stainless)
- Tape measure, square, and pencil
- Utility knife
- Sandpaper (80-grit and 120-grit)
Step 1 — Remove the Damaged Casing
Use a utility knife to score the paint and caulk line where the casing meets the siding and the jamb. This prevents tearing the paint and siding as you pry.
Insert a flat pry bar between the casing and the wall surface and work carefully along the length of the board, popping the nails progressively rather than prying hard from one end. Remove the casing from the damaged section. Set aside any undamaged sections that can be reused.
With the casing removed, you can see the full extent of damage to the jamb and the area where the door frame meets the house framing behind it.
Step 2 — Remove and Replace Damaged Jamb Sections
If the jamb itself is rotted, cut out the damaged section using a reciprocating saw or circular saw. Make your cuts at sound wood — go above the rot line by several inches to ensure you are anchoring new wood into solid material.
Measure the cutout and cut a replacement piece from rot-resistant lumber. The replacement piece must match the original jamb width and thickness exactly so the door operates correctly.
Treat the cut ends of any remaining jamb wood with an end-grain wood preservative or oil-based primer before closing everything in. Install the replacement piece by nailing it into the structural framing behind the jamb with galvanized nails or exterior screws. Check that the jamb face is flush with the original and that it is plumb vertically before fastening fully.
If the rot is minor and confined to the surface, cut away all soft material back to solid wood, then fill the void with a two-part epoxy wood filler. Follow the product instructions for mixing ratio and working time. Overfill slightly and allow to cure hard, then sand flush.
Step 3 — Inspect and Treat the Structural Framing
With the damaged jamb section removed, inspect the structural rough framing behind it — the king stud and jack stud on each side and the header across the top. Any soft or discolored framing wood needs to be addressed. Minor surface rot on the framing can be treated with a borate-based wood preservative. Badly damaged structural framing requires a carpenter or contractor — this is beyond a typical DIY exterior door repair.
If the framing is sound, apply a coat of exterior wood preservative or oil-based primer to the exposed framing faces before installing the new jamb and casing. This creates a moisture barrier between the new finish wood and the structural framing.
Step 4 — Install New Exterior Casing
Cut your new casing to match the original profile. Most exterior door casings are flat boards, but some homes have profiled or brick mold casing — match the profile when ordering material.
Prime all six faces and both ends of each casing board with exterior oil-based primer before installation. This step is critical and is the number one way to prevent future rot.
Nail the casing to the jamb and the siding with galvanized finish nails spaced every 12 to 16 inches. Set the nails just below the wood surface. Check that the casing lies flat against the siding with no gaps. At the corners (where the head casing meets the side casings), cut 45-degree miter joints or use butt joints with a rabbet, depending on the original style.
Step 5 — Caulk, Prime, and Paint
Run a continuous bead of exterior paintable caulk along every joint: where the casing meets the siding, where the casing meets the jamb, and at the miter or butt joints at the corners. Smooth the caulk bead with a wet finger and allow to fully cure before painting.
Apply a second coat of exterior primer over any bare or patched areas, then finish with two coats of exterior paint in the matching color. Pay special attention to end grain and to the bottom edge of the side casings where they terminate above the sill — these spots are the most vulnerable to future water intrusion.
Preventing Future Frame Damage
- Check caulk around the door frame annually and refresh any cracked or missing sections every two to three years.
- Keep paint in good condition — once exterior paint cracks or peels, bare wood is exposed directly to moisture.
- Ensure downspouts and grading direct water away from the door area.
- Consider installing a storm door or deep porch overhang over entryways with heavy sun and rain exposure.
Related Reading
- Step 1 — Remove the Damaged Casing
Use a utility knife to score the paint and caulk line where the casing meets the siding and the jamb. This prevents tearing the paint and siding as you pry.
- Step 2 — Remove and Replace Damaged Jamb Sections
If the jamb itself is rotted, cut out the damaged section using a reciprocating saw or circular saw. Make your cuts at sound wood — go above the rot line by several inches to ensure you are anchoring new wood into solid material.
- Step 3 — Inspect and Treat the Structural Framing
With the damaged jamb section removed, inspect the structural rough framing behind it — the king stud and jack stud on each side and the header across the top. Any soft or discolored framing wood needs to be addressed.
- Step 4 — Install New Exterior Casing
Cut your new casing to match the original profile. Most exterior door casings are flat boards, but some homes have profiled or brick mold casing — match the profile when ordering material.
- Step 5 — Caulk, Prime, and Paint
Run a continuous bead of exterior paintable caulk along every joint: where the casing meets the siding, where the casing meets the jamb, and at the miter or butt joints at the corners.
Free: 10-Point Home Maintenance Checklist
Prevent costly repairs with this seasonal checklist. Save hundreds every year by catching problems early.
Your checklist is ready!
Open Checklist →Something went wrong. View the checklist here.