How to Fix a Broken Dryer Belt
Learn how to replace a broken or worn dryer drum belt yourself with this step-by-step guide covering most standard electric and gas dryers.
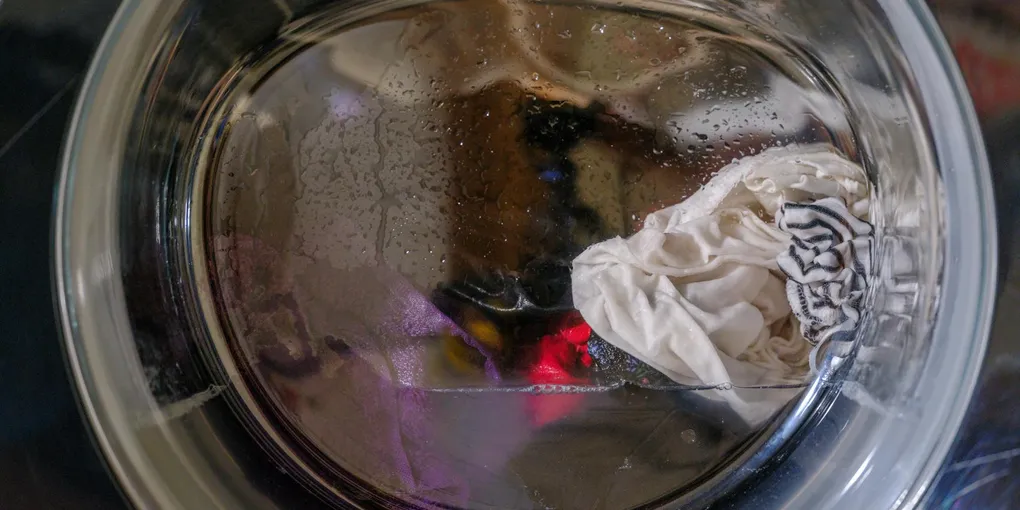
Replacing a dryer belt: (1) Symptom: dryer runs (motor hums) but drum doesn't spin — a broken belt is the most common cause. (2) Search your dryer model number (inside the door frame) + belt to find the exact replacement part ($10 to $25). (3) Unplug the dryer. For most dryers: remove the front panel (two screws at the bottom plus top clips) or top and front panel combination. (4) The belt wraps around the drum, through a tensioner pulley, and around the motor pulley. Note the routing before removing. (5) Slide the old belt off or cut if broken. Thread the new belt around the drum first (ribbed side against the drum), then thread through the tensioner (spring-loaded idler pulley) and around the motor shaft. (6) Reassemble in reverse. Test before closing the panel. A dryer belt replacement takes 30 to 60 minutes and saves the $100 to $200 service call.
Frequently Asked Questions
How do I know if my dryer belt is broken?
If the dryer runs and makes noise but the drum does not spin, a broken belt is almost certainly the cause. You may also hear a thumping or squealing noise before the belt breaks entirely.
How much does it cost to replace a dryer belt?
The belt itself costs $10 to $25 for most residential dryer models. A professional appliance repair call typically runs $100 to $200 including parts and labor, making this a very worthwhile DIY repair.
How long does a dryer belt last?
Under normal use, a dryer belt lasts 8 to 12 years. Overloading the dryer, running very long cycles, or worn drum glides that create extra friction can shorten belt life significantly.
Do I need to disassemble the whole dryer to replace the belt?
You need to remove the front or top panel (depending on the dryer brand) to access the drum and route a new belt. It sounds intimidating, but most dryers come apart with just a few screws and plastic clips, and reassembly follows the same steps in reverse.
Where can I find the correct replacement belt for my dryer model?
Look for the model number on a sticker inside the door frame or on the back panel. Search for that model number along with the term dryer belt on Amazon or an appliance parts site to find the exact part.
Should I replace the drum rollers and idler pulley at the same time as the belt?
Yes, if the dryer is more than 6 years old. These parts wear together, and since you are already inside the machine, replacing them now prevents another disassembly in a year or two. Many retailers sell them as a kit.
Replacing a dryer belt: (1) Symptom: dryer runs (motor hums) but drum doesn’t spin — a broken belt is the most common cause. (2) Search your dryer model number (inside the door frame) + belt to find the exact replacement part ($10 to $25).
A dryer that hums but does not spin is almost always a broken drum belt. The good news: replacing the belt is one of the most cost-effective appliance repairs you can do at home. Most dryers follow the same general layout — a belt wrapped around the drum, looping under a spring-loaded idler pulley, and hooking around the motor shaft. Once you understand the path, the job is straightforward.
Always unplug the dryer before starting any repair. For gas dryers, also close the gas supply valve.
Tools and Materials
- Phillips and flathead screwdrivers
- Nut driver set (1/4 inch and 5/16 inch are common)
- Putty knife or stiff plastic pry tool
- Replacement dryer belt (matched to your model number)
- Work gloves (drum edges can be sharp)
- Flashlight
Find your model number inside the door opening or on the back of the dryer, then order a replacement dryer belt by model number. Getting the exact part ensures the correct width and rib count.
Step 1: Access the Drum
For most front-load dryers (Whirlpool, Maytag, Kenmore, Amana):
- Open the door and remove the screws inside the door frame along the bottom of the front panel.
- Insert a putty knife under the top lid where it meets the cabinet and push the two spring clips inward. Lift the top panel and prop it open.
- Disconnect the door switch wiring connector inside the cabinet, then remove the screws securing the front panel and lift it away.
For GE and Hotpoint dryers: the back panel is often removed instead — check your model’s service diagram for the access approach.
Step 2: Remove the Drum
With the front or back panel removed, the drum is now accessible. Note how the belt is currently routed around the idler pulley and motor shaft — take a photo for reference before removing anything.
Reach under the drum and slip the old belt off the idler pulley and motor shaft. Lift the drum straight out of the cabinet. It is heavier than it looks, so use both hands or have a helper steady it.
Inspect the drum support rollers (the small wheels the drum rests on) and the idler pulley for wear or wobble. If anything looks worn, this is the perfect time to replace them. A dryer drum support roller and belt kit combines all three parts at a lower cost than buying separately.
Step 3: Install the New Belt
Lay the new belt around the drum with the ribbed side facing inward against the drum surface. Position the belt roughly centered on the drum, away from the edges.
Slide the drum back into the cabinet, resting it on the support rollers. Reach underneath and loop the belt around the idler pulley (pushing the pulley toward the belt to create slack) and then around the motor shaft. The belt should follow the same path your photo captured — the idler pulley creates tension to keep the belt taut against the drum and motor.
Give the drum a slow manual spin to verify the belt tracks straight and does not slip off either end of the drum.
Step 4: Reassemble the Dryer
Reconnect the door switch wiring harness, then reattach the front or back panel and secure all screws. Reinstall the top panel, pressing down until the spring clips snap into place.
Step 5: Test the Repair
Plug the dryer back in (and reopen the gas valve if applicable). Start the dryer on a timed cycle with a few damp towels inside. Watch and listen during the first minute — the drum should spin smoothly and quietly. A squealing noise at this point usually means the belt is slightly off-center on the idler pulley; stop the dryer and re-route.
Keeping Your Dryer Running Well
- Clean the lint trap before every load
- Inspect and clean the dryer vent duct once a year
- Avoid overloading the drum — keep loads under 80 percent of capacity
- Run a dryer cleaning cycle periodically to prevent lint buildup on internal components
Related Reading
- How to Fix a Broken Dryer Heating Element — replace the heating element when the drum spins but produces no heat
- How to Clean a Dryer Vent — clear the vent duct annually to prevent lint fires and keep the dryer running efficiently
- Access the Drum
Open the door and remove the screws inside the door frame along the bottom of the front panel.
- Remove the Drum
With the front or back panel removed, the drum is now accessible. Note how the belt is currently routed around the idler pulley and motor shaft — take a photo for reference before removing anything.
- Install the New Belt
Lay the new belt around the drum with the ribbed side facing inward against the drum surface. Position the belt roughly centered on the drum, away from the edges.
- Reassemble the Dryer
Reconnect the door switch wiring harness, then reattach the front or back panel and secure all screws. Reinstall the top panel, pressing down until the spring clips snap into place.
- Test the Repair
Plug the dryer back in (and reopen the gas valve if applicable). Start the dryer on a timed cycle with a few damp towels inside. Watch and listen during the first minute — the drum should spin smoothly and quietly.
Free: 10-Point Home Maintenance Checklist
Prevent costly repairs with this seasonal checklist. Save hundreds every year by catching problems early.
Your checklist is ready!
Open Checklist →Something went wrong. View the checklist here.