How to Fix a Broken Dishwasher Spray Arm
Learn how to clean a clogged dishwasher spray arm and replace a cracked or broken one to get your dishwasher back to cleaning dishes spotlessly.
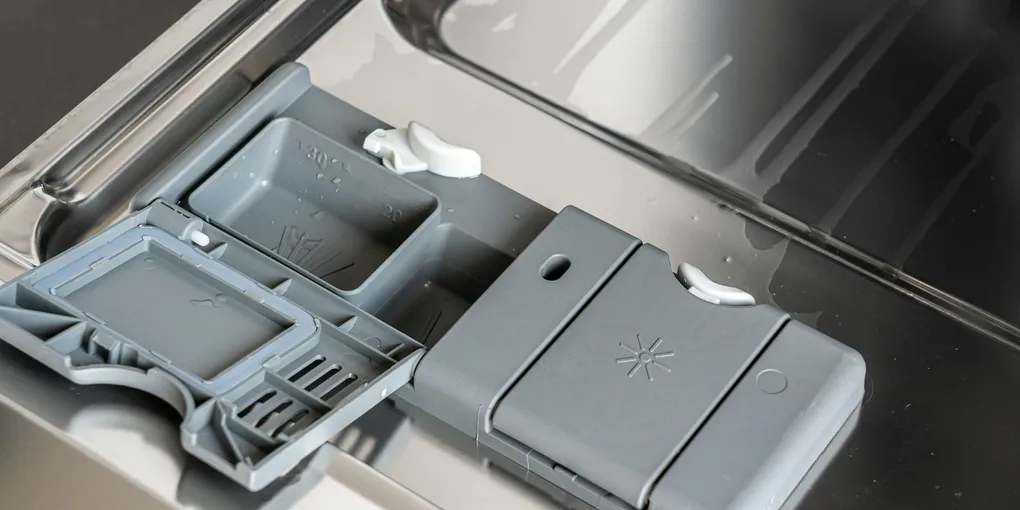
Fixing a dishwasher spray arm: (1) Symptom: dishes not getting clean, especially on one side — usually a clogged or broken spray arm. (2) Remove the spray arm: most snap off or have a single retaining nut in the center — turn counterclockwise. (3) Clogged holes: soak the arm in white vinegar for 30 minutes, then use a toothpick or thin wire to clear each hole. Rinse thoroughly. (4) Cracked or broken arm: buy a replacement — search your dishwasher model number (inside the door frame) plus your brand. Spray arms are $15 to $30 and snap or screw back in. (5) If the arm spins freely but dishes still don't clean: check the water inlet valve (low water pressure) or the detergent dispenser. (6) Hard water deposits in the holes are the most common cause in areas with hard water — run a citric acid or dishwasher cleaner cycle monthly to prevent buildup.
Frequently Asked Questions
How do I know if my dishwasher spray arm is the problem?
If dishes on the top rack come out dirty or still greasy, the upper spray arm is likely clogged or broken. Dishes on the bottom rack that are not clean point to the lower arm. You can also remove the spray arm and spin it by hand — it should rotate freely with no wobble or cracks.
Can I run the dishwasher with a broken spray arm?
Running the dishwasher with a cracked or missing spray arm can allow water to spray in unintended directions, potentially damaging the interior or other components. It is best to replace it before running another cycle.
Are dishwasher spray arms universal?
No. Spray arms are brand and model specific. Check your dishwasher model number (usually printed on the door jamb sticker) and order the OEM part or a compatible aftermarket replacement for that exact model.
How often should dishwasher spray arms be cleaned?
Inspect and clean spray arm holes every three to six months, or whenever you notice cleaning performance declining. Homes with hard water or heavy food debris will need more frequent cleaning.
Why do my spray arm holes keep getting clogged?
Hard water mineral deposits, food particles, and broken glass or plastic shards from dishes are the most common causes. Always run a garbage disposal before starting the dishwasher, use a rinse aid, and run a monthly cleaning cycle with a dishwasher cleaner tablet.
What is the middle spray arm on a dishwasher?
Many three-rack dishwashers have a third spray arm mounted under the top rack. It washes the third rack and the top portion of the middle rack. It is removed and replaced the same way as the upper and lower arms.
Fixing a dishwasher spray arm: (1) Symptom: dishes not getting clean, especially on one side — usually a clogged or broken spray arm. (2) Remove the spray arm: most snap off or have a single retaining nut in the center — turn counterclockwise.
When your dishwasher stops cleaning properly, a clogged or broken spray arm is one of the first things to check. Spray arms are the rotating plastic components with small holes that jet water across every rack during the wash cycle. When those holes get blocked by food debris or mineral deposits — or when the arm cracks from being struck by a wayward utensil — cleaning performance tanks. The fix is straightforward: clean the arm, or replace it.
How Spray Arms Work
Each spray arm is hollow and attaches to a water supply port beneath or above its rack. Water pressure forces water through the jets while the reaction force spins the arm, covering the full interior of the dishwasher. A crack in the arm bleeds pressure before the water reaches the jets. A clogged jet simply skips that zone. Either issue leaves dishes dirty.
Tools and Materials
- Phillips screwdriver
- Needle or toothpick (for clearing jets)
- White vinegar or lime/scale remover
- Small stiff brush or old toothbrush
- Replacement spray arm (if cracked or broken)
Step 1: Remove the Spray Arm
Lower rack arm: pull the lower rack out of the dishwasher. The lower spray arm typically unscrews counterclockwise or snaps off a center post — consult your dishwasher manual for the exact method. Lift it free.
Upper rack arm: slide the upper rack out fully or remove it. The upper spray arm is usually held by a nut underneath the upper rack or by a snap-fit hub. Unscrew or unclip it and lower it out.
Set both arms in the sink.
Step 2: Inspect for Cracks
Hold each arm up to a light and look at the body and all the jet holes. Hairline cracks anywhere on the arm mean replacement — cracked plastic will not hold pressure evenly. A spray arm that wobbled on its hub or felt loose during removal may have a stripped center post, which also calls for replacement.
Step 3: Clear Clogged Jets
For arms that are intact but clogged, push a toothpick or sewing needle through each jet hole to dislodge mineral deposits and food debris. Work from the outside in. Then rinse the arm under running water while blocking one end to force water through each hole. You should see a clear, strong stream from each jet.
For heavy mineral scale, soak the arm in undiluted white vinegar for 20 to 30 minutes, then scrub with a stiff brush and rinse again. A commercial dishwasher cleaner or citric acid solution also dissolves calcium buildup effectively.
Step 4: Order and Install a Replacement (If Needed)
Find your dishwasher model number on the sticker inside the door jamb. Search for a replacement dishwasher spray arm by brand and model number. OEM parts are available directly from manufacturers, and quality aftermarket arms are sold by brands like Bosch, Whirlpool, and GE through retailers like Amazon. Most replacement arms cost $10–$30 and arrive ready to install with no tools required.
Snap or screw the new arm onto the center hub until it seats with a click or until the nut is snug (do not overtighten plastic threads). Give it a spin by hand — it should rotate smoothly with no resistance or wobble.
Step 5: Check the Spray Arm Hub and Filter
While the arms are out, inspect the hub ports where water enters the arms. Rinse them with water and use a thin brush to clear any debris. Also pull the dishwasher filter (if your model has one — usually a twist-lock screen in the bottom of the tub) and rinse it under warm water. A clogged filter chokes water pressure to all the spray arms even if the arms themselves are clean. A dishwasher cleaning tablet run monthly keeps the filter, arms, and interior free of buildup.
Step 6: Reinstall and Test
Reinstall the spray arms and slide the racks back in. Run a short wash cycle with no dishes and watch through the door window (or crack it slightly after the cycle starts) to confirm both arms are spinning. If one arm stays stationary, check that it is fully seated on its hub and that no dish or utensil is blocking its rotation path.
Cleaning or replacing a dishwasher spray arm takes under 30 minutes and requires no plumbing or electrical work. It is one of the highest-value fixes you can make to restore a dishwasher to like-new performance.
- Remove the Spray Arm
Lower rack arm: pull the lower rack out of the dishwasher. The lower spray arm typically unscrews counterclockwise or snaps off a center post — consult your dishwasher manual for the exact method. Lift it free.
- Inspect for Cracks
Hold each arm up to a light and look at the body and all the jet holes. Hairline cracks anywhere on the arm mean replacement — cracked plastic will not hold pressure evenly.
- Clear Clogged Jets
For arms that are intact but clogged, push a toothpick or sewing needle through each jet hole to dislodge mineral deposits and food debris. Work from the outside in.
- Order and Install a Replacement (If Needed)
Find your dishwasher model number on the sticker inside the door jamb. Search for a replacement dishwasher spray arm by brand and model number.
- Check the Spray Arm Hub and Filter
While the arms are out, inspect the hub ports where water enters the arms. Rinse them with water and use a thin brush to clear any debris.
- Reinstall and Test
Reinstall the spray arms and slide the racks back in. Run a short wash cycle with no dishes and watch through the door window (or crack it slightly after the cycle starts) to confirm both arms are spinning.
Free: 10-Point Home Maintenance Checklist
Prevent costly repairs with this seasonal checklist. Save hundreds every year by catching problems early.
Your checklist is ready!
Open Checklist →Something went wrong. View the checklist here.