How to Fix a Broken Bathroom Vanity Light
Learn how to safely replace a bathroom vanity light bar fixture, from turning off the breaker to making final wiring connections.
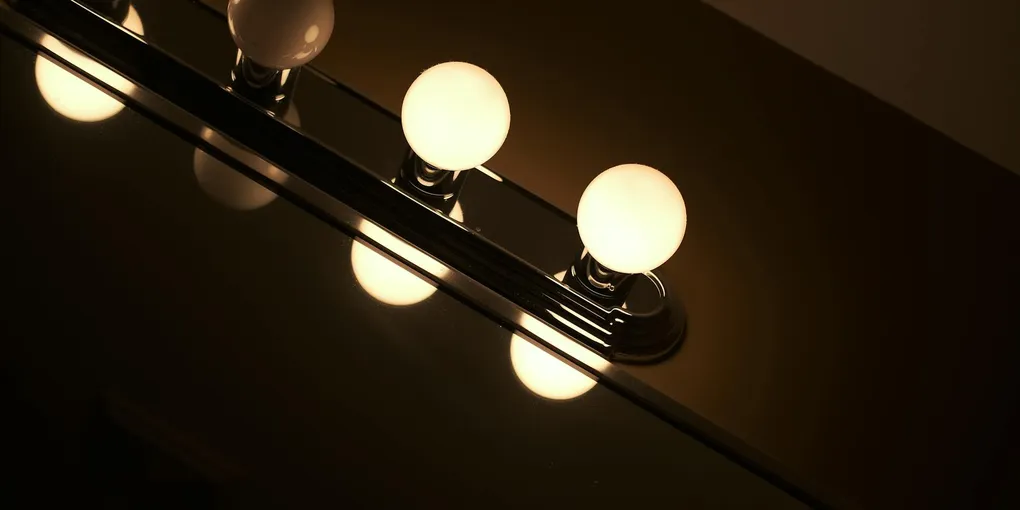
Replacing a bathroom vanity light fixture: (1) Turn off the breaker for the bathroom circuit. Verify dead with a non-contact tester. (2) Remove the old fixture: unscrew the mounting screws, pull the fixture away from the wall carefully, and unscrew the wire nuts connecting the wires. (3) Note the wiring: black (hot) to black, white (neutral) to white, bare copper or green (ground) to the fixture's ground wire or mounting bracket. (4) Mount the new fixture's crossbar to the electrical box. (5) Connect the wires with wire nuts, fold into the box, and attach the fixture to the crossbar. (6) Install bulbs rated for the fixture's wattage. (7) Restore power and test. Most vanity lights mount directly to a standard 4-inch round or octagonal electrical box. If the box is not rated for the weight of the new fixture, replace it with a fan/fixture-rated box first.
Frequently Asked Questions
Is replacing a bathroom vanity light safe to do yourself?
Yes, for a straightforward like-for-like replacement where wiring already exists in the wall. Always turn off the circuit breaker and verify power is off with a non-contact voltage tester before touching any wires.
What wires connect to a vanity light fixture?
Standard vanity lights connect to three wires: black (hot), white (neutral), and bare copper or green (ground). Match like colors and always connect the ground wire.
How do I know if my vanity light is on its own circuit?
Check your breaker panel. Bathroom circuits are often labeled and may share a breaker with GFCI outlets. Flip the breaker and test the outlet or light switch with a voltage tester to confirm.
Can I replace a 3-bulb vanity bar with a 4-bulb bar?
Yes, as long as the total wattage stays within the circuit rating (usually 15 amps / 1800 watts) and the new fixture mounts to the same junction box. Use LED bulbs to keep total draw low.
What does it mean if the vanity light flickers after replacement?
Flickering after a new installation usually means a loose wire nut connection, incompatible dimmer switch, or non-dimmable LED bulbs on a dimmer circuit. Check all connections and verify bulb compatibility.
Do I need to patch the wall if the new fixture is a different size?
If the new fixture backplate is larger than the old one it will cover the gap with no patching needed. If it is smaller, you will need to patch, prime, and paint the exposed drywall before installing.
One socket in my vanity light bar is dead but the others work. How do I fix it?
A single dead socket in a multi-light bar is almost always a failed socket, not a wiring problem. Turn off the breaker, remove the globe and bulb, and inspect the socket interior for burnt contacts or melted plastic. If the socket looks intact, test with a known-good bulb. If that bulb is also dead, the socket's center contact has likely lost spring tension — with power off, use a small flathead screwdriver to gently lift the center contact tab slightly to restore contact with the bulb base. If the socket is visibly burnt or damaged, replacement sockets are available from the fixture manufacturer or a lighting supply store and swap out in a few minutes.
Does my bathroom vanity light need to be on a GFCI-protected circuit?
Yes, per the NEC (National Electrical Code) and most local codes, bathroom lighting circuits must be GFCI-protected when the fixture is within 6 feet of a water source. In practice, all bathroom circuits installed under recent code cycles are GFCI-protected at the breaker or via a GFCI outlet upstream. If your bathroom is older and the outlet or light is not GFCI-protected, this is a code deficiency. GFCI protection can be added by replacing the circuit breaker with a GFCI breaker or adding a GFCI outlet upstream of the light fixture.
Replacing a bathroom vanity light fixture: (1) Turn off the breaker for the bathroom circuit. Verify dead with a non-contact tester.
A bathroom vanity light does more heavy lifting than any other fixture in the house — you use it for grooming every single day. When the fixture cracks, the sockets fail, or you simply want to update the look, replacing it is one of the most approachable electrical projects a homeowner can tackle. No special skills required, just safe habits and the right materials.
Before You Begin: Safety
Electricity is unforgiving. Follow these steps every single time:
- Flip the breaker for the bathroom circuit to the OFF position
- Test the switch at the vanity — the light should not come on
- Use a non-contact voltage tester at the fixture wires to confirm zero volts before touching anything
Never rely on the wall switch alone. Switches interrupt hot wires but the neutral is always live relative to ground, and wiring errors in older homes can mean a switch leg is wired differently than expected.
Tools and Materials
- Non-contact voltage tester
- Phillips and flathead screwdrivers
- Wire stripper
- Needle-nose pliers
- Wire nuts (typically included with new fixture)
- Electrical tape
- Replacement vanity light bar fixture
- Optional: new mounting bracket (often included)
For the fixture itself, Globe Electric 51688 Vanity Light Bar is a popular four-light brushed nickel bar that fits most standard junction boxes and comes with mounting hardware. For safety, Klein Tools NCVT-1 Non-Contact Voltage Tester is the essential tool for confirming power is off before you touch any wires.
Step 1: Remove the Old Fixture
With the breaker confirmed off and voltage tested at zero, remove the light bulbs and any globes or shades from the old fixture. Unscrew the fixture from the wall — typically two screws into the mounting bracket on either side of the junction box.
Carefully pull the fixture away from the wall. The wires will be connected inside or just behind the canopy. Hold the fixture up or prop it so you have both hands free to disconnect the wire nuts.
Step 2: Disconnect the Wiring
Twist the wire nuts counterclockwise to remove them and separate the wires. Note which wire goes where: black to black (hot), white to white (neutral), and ground to ground. Take a phone photo before disconnecting if this is your first time.
Inspect the junction box once the old fixture is removed. Make sure the box is securely fastened to a stud or rated brace and that the wires from the wall have at least six inches of workable length. If they are too short, use wire connectors and short pigtail lengths to extend them.
Step 3: Install the New Mounting Bracket
Most new vanity fixtures include a mounting bracket that attaches to the junction box with two screws. If the new bracket does not match the old hole pattern, most adjustable brackets accommodate standard box dimensions. Thread the wires through the center opening of the bracket.
Step 4: Connect the Wires
Working one connection at a time:
- Twist the bare ends of the black (fixture) and black (wall) wires together and secure with a wire nut, then wrap with electrical tape
- Repeat for the white wires
- Connect the fixture ground wire (green or bare copper) to the wall ground wire and to the green screw on the mounting bracket if present
Tug each wire nut gently to confirm a secure grip. No copper should be visible below the wire nut.
Step 5: Mount the Fixture
Tuck all wires neatly into the junction box and press the fixture canopy against the wall. Drive the mounting screws through the fixture plate into the bracket. Do not overtighten — porcelain and thin metal crack easily.
Step 6: Install Bulbs and Restore Power
Install LED bulbs in each socket. Philips LED Dimmable A19 Light Bulbs in the 2700K warm white range are ideal for vanity applications — flattering color rendering with low heat output. Flip the breaker back on and test the switch.
Troubleshooting
- No light: Recheck wire connections and confirm bulbs are fully seated in sockets
- Tripped breaker immediately: Check for pinched wires between the canopy and wall
- Flickering on a dimmer: Replace non-dimmable LEDs with dimmable versions and verify the dimmer is rated for LED loads
A vanity light replacement takes most homeowners under an hour and makes an immediate visual impact on the bathroom. Take your time with the electrical connections and the rest is simply hardware.
- Remove the Old Fixture
With the breaker confirmed off and voltage tested at zero, remove the light bulbs and any globes or shades from the old fixture. Unscrew the fixture from the wall — typically two screws into the mounting bracket on either side of the junction box.
- Disconnect the Wiring
Twist the wire nuts counterclockwise to remove them and separate the wires. Note which wire goes where: black to black (hot), white to white (neutral), and ground to ground. Take a phone photo before disconnecting if this is your first time.
- Install the New Mounting Bracket
Most new vanity fixtures include a mounting bracket that attaches to the junction box with two screws. If the new bracket does not match the old hole pattern, most adjustable brackets accommodate standard box dimensions.
- Connect the Wires
Working one connection at a time:
- Mount the Fixture
Tuck all wires neatly into the junction box and press the fixture canopy against the wall. Drive the mounting screws through the fixture plate into the bracket. Do not overtighten — porcelain and thin metal crack easily.
- Install Bulbs and Restore Power
Install LED bulbs in each socket. Philips LED Dimmable A19 Light Bulbs in the 2700K warm white range are ideal for vanity applications — flattering color rendering with low heat output. Flip the breaker back on and test the switch.
Free: 10-Point Home Maintenance Checklist
Prevent costly repairs with this seasonal checklist. Save hundreds every year by catching problems early.
Your checklist is ready!
Open Checklist →Something went wrong. View the checklist here.