How to Fix a Broken Attic Ventilation Fan
Learn how to diagnose and repair a failed attic exhaust fan by replacing a burned-out motor or faulty thermostat to restore proper attic airflow.
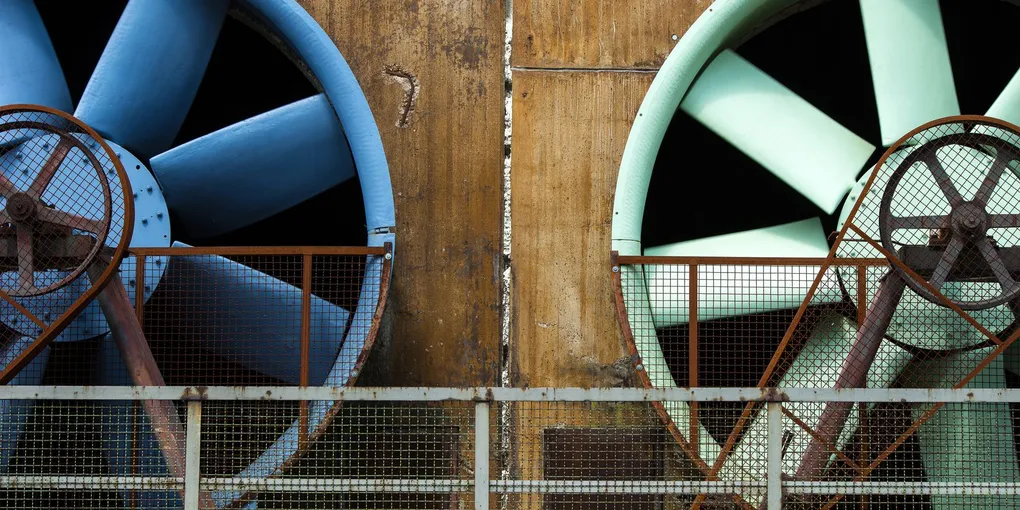
Fixing a broken attic ventilation fan: (1) Turn off the breaker. (2) Test the thermostat first (the most common failure): with the attic at normal temperature, manually jump the thermostat terminals with a wire. If the fan runs, replace the thermostat ($15 to $25) — no fan motor replacement needed. (3) If the fan hums but won't spin: lubricate the motor shaft with machine oil. If still stuck, replace the motor. (4) If the fan makes a grinding or rattling noise: check for debris caught in the blades, tighten the blade screws, or check for motor bearing failure. (5) Full fan motor replacement: search by brand and model number. Gable fan motors are usually accessible from inside the attic. Roof fan units are often easier to replace entirely rather than just the motor. A complete replacement attic fan runs $60 to $150 and installs in 1 to 2 hours.
Frequently Asked Questions
How do I know if my attic fan has stopped working?
Go into the attic on a hot day and listen — a working fan will be audible and you will feel airflow near the exhaust louvers. You can also check the thermostat setting: if the attic temperature exceeds the setpoint and the fan does not run, something has failed.
What is the most common reason an attic fan stops working?
The two most common failures are a burned-out fan motor and a faulty thermostat. The motor wears out over years of continuous summer operation, and the thermostat contacts can fail in either the open or closed position.
Can I replace just the motor without replacing the whole attic fan unit?
Yes. Replacement motors are available for most common attic fan brands and are significantly cheaper than replacing the entire unit. Match the motor by horsepower, RPM, frame size, and rotation direction.
What temperature should I set my attic fan thermostat to?
Most attic fans are set to activate between 90 and 110 degrees Fahrenheit. A setting of 100 degrees F is a common starting point that balances energy use and effective attic cooling.
Is it safe to work in the attic to repair the fan?
Yes, with precautions. Work in the early morning before the attic heats up, wear a dust mask and eye protection, step only on joists or a board laid across them (never on insulation or drywall), and have a helper nearby.
How long do attic exhaust fan motors last?
Attic fan motors typically last 10–15 years depending on climate and run time. In very hot climates where the fan runs frequently all summer, motors may need replacement sooner.
Can I replace a wired attic fan with a solar-powered one?
Yes. Solar-powered attic fans require no wiring, run whenever sunlight is available (typically 6 to 8 hours per day), and move 800 to 1,500 CFM depending on the model. They are most effective on south- or west-facing unshaded roof sections. Popular models from Natural Light and QuietCool mount in the existing roof opening. The tradeoff: solar fans do not run at night or on heavily overcast days, so they supplement rather than replace well-designed passive ventilation. If your home already has adequate soffit and ridge vent area, a solar fan adds peak-day performance without ongoing operating cost.
What motor specifications do I need to match when replacing an attic fan motor?
Find the motor nameplate on the existing unit and match these four specifications: (1) horsepower — residential attic fans typically use 1/15 to 1/3 HP; (2) RPM — most residential fans run at 1,050 or 1,550 RPM; (3) frame size — the outer diameter of the motor body must fit the existing housing; (4) rotation direction — listed as CW or CCW when viewed from the shaft end, and must match to move air in the correct direction. A direct replacement from the same manufacturer is easiest. Universal replacement motors from brands like Fasco and A.O. Smith are available but require verifying all four specs before ordering.
Fixing a broken attic ventilation fan: (1) Turn off the breaker. (2) Test the thermostat first (the most common failure): with the attic at normal temperature, manually jump the thermostat terminals with a wire.
An attic ventilation fan is one of the hardest-working components in your home during summer. It exhausts trapped hot air before it bakes your roof decking, drives up cooling bills, and shortens the life of your shingles. When the fan stops working, the problem is almost always the motor or the thermostat — both of which are straightforward DIY repairs.
Why Attic Fan Repair Matters
A properly functioning attic fan can reduce attic temperatures by 30–50 degrees Fahrenheit on a hot day. Without it, heat builds up under the roof and radiates down into living spaces, forcing your air conditioner to work harder. A dead attic fan in summer can noticeably increase your energy bills within weeks.
Tools and Materials You Will Need
- Non-contact voltage tester
- Multimeter
- Screwdrivers (Phillips and flathead)
- Wire nuts
- Replacement attic fan motor (matched to your unit)
- Replacement thermostat (if needed)
- Work gloves and dust mask
- Boards or plywood to kneel on in the attic
Before ordering a replacement motor, note the model number on the existing fan and motor label. A universal replacement attic fan motor matched to your unit’s horsepower and RPM rating will drop right into the existing housing.
Step 1: Safety First — Shut Off Power
Locate the circuit breaker for the attic fan and turn it off. Attic fans are typically on a dedicated 15-amp circuit. Use your non-contact voltage tester at the fan’s wiring compartment to confirm power is dead before touching any wires. Do this before entering the attic.
Step 2: Access the Fan and Diagnose the Problem
Enter the attic early in the morning before it heats up. Locate the fan unit — it is mounted in the roof deck or a gable wall. Remove the fan cover or grille if present.
Test the thermostat first. The thermostat is a small disc or box-shaped device with two wires and a temperature dial. To test it:
- Set the thermostat to its lowest setting (so it should be calling for the fan to run).
- Restore power briefly.
- Use your multimeter set to continuity or voltage: if the thermostat is good, you should have continuity across its terminals when set below the current attic temperature.
- Shut off power before doing anything further.
Test the motor. With power off, disconnect the motor wires and use your multimeter to check resistance across the motor terminals. An infinite resistance reading (open circuit) confirms the motor winding has failed.
Step 3: Replace the Thermostat (If Faulty)
A replacement attic fan thermostat typically costs $15–$30 and installs in minutes. Simply disconnect the two wires from the old thermostat, connect them to the new one using wire nuts or screw terminals, and set the temperature dial to your desired activation point (100°F is a common setting). Mount the new thermostat in the same location as the old one.
Step 4: Replace the Motor (If Faulty)
Motor replacement is slightly more involved but still well within DIY range:
- Take photos of all wire connections before disconnecting anything.
- Disconnect the motor wires at the wire nuts inside the wiring compartment.
- Remove the fan blade by loosening the retaining nut at the motor shaft center. Fan blades are typically reverse-threaded — turn clockwise to loosen.
- Unbolt the motor from the fan housing. Usually 2–4 bolts hold the motor bracket in place.
- Install the new motor in reverse order. Confirm the rotation direction matches the original — most attic fan motors should push air outward (upward through the roof).
- Reattach the fan blade and reconnect wiring according to your photos.
Step 5: Restore Power and Test
Turn the circuit breaker back on. Set the thermostat below the current attic temperature so the fan should activate immediately. Listen for the motor to start and feel for airflow at the louvers. Let the fan run for several minutes to confirm steady operation.
If the fan hums but does not spin, the capacitor (a small component mounted near the motor) may have failed. Replacement capacitors matched to your motor’s microfarad rating are available and swap out with two wire connections.
Preventive Maintenance
Clean the fan blade and housing of dust and debris annually. Lubricate the motor shaft bearings if the motor has oil ports — a few drops of lightweight machine oil extends motor life significantly. Check that the roof louvers or gable vents open freely and are not blocked by insulation or debris.
A functioning attic fan is a low-cost investment in your roof’s longevity and your home’s energy efficiency. Most repairs pay for themselves within a single cooling season.
Related guides
- Attic Insulation Cost Guide — insulation and ventilation work together; check insulation depth while you’re in the attic
- How to Fix a Broken Attic Fan — diagnose and repair the passive attic fan if the powered unit isn’t the issue
- How to Fix a Blocked Attic Soffit Vent — restore intake airflow that the fan relies on to exhaust hot air
- Safety First — Shut Off Power
Locate the circuit breaker for the attic fan and turn it off. Attic fans are typically on a dedicated 15-amp circuit. Use your non-contact voltage tester at the fan's wiring compartment to confirm power is dead before touching any wires.
- Access the Fan and Diagnose the Problem
Enter the attic early in the morning before it heats up. Locate the fan unit — it is mounted in the roof deck or a gable wall. Remove the fan cover or grille if present.
- Replace the Thermostat (If Faulty)
A replacement attic fan thermostat typically costs $15–$30 and installs in minutes. Simply disconnect the two wires from the old thermostat, connect them to the new one using wire nuts or screw terminals, and set the temperature dial to your desired...
- Replace the Motor (If Faulty)
Motor replacement is slightly more involved but still well within DIY range:
- Restore Power and Test
Turn the circuit breaker back on. Set the thermostat below the current attic temperature so the fan should activate immediately. Listen for the motor to start and feel for airflow at the louvers.
Free: 10-Point Home Maintenance Checklist
Prevent costly repairs with this seasonal checklist. Save hundreds every year by catching problems early.
Your checklist is ready!
Open Checklist →Something went wrong. View the checklist here.