How to Fix a Broken Attic Fan: Step-by-Step Guide
Diagnose and repair a broken attic fan yourself by replacing the motor, thermostat, or worn bearings to restore proper attic ventilation.
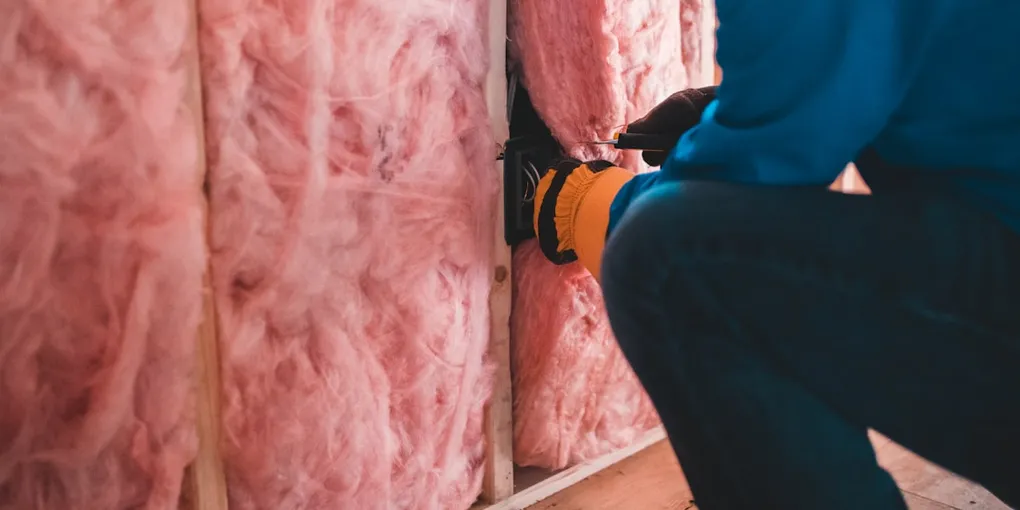
Fixing a broken attic fan: (1) Turn off the circuit breaker. (2) If the fan doesn't run at all: check the thermostat — attic fans have a built-in thermostat that triggers at ~100–110°F. Test by manually jumping the thermostat terminals; if the fan runs, replace the thermostat ($15–$25). (3) If the fan hums but blades don't spin: the motor bearings are seized. Apply machine oil to the shaft first; if it still won't turn, replace the motor. (4) If the fan vibrates loudly: tighten blade screws and check for debris caught in the blades. (5) A replacement attic fan motor costs $40–$80; a complete new attic fan unit is $60–$150. For a gable fan, the motor is usually replaceable without disturbing the mounting frame. For a roof-mounted fan, full unit replacement is easier than motor-only swap.
Frequently Asked Questions
How do I know if my attic fan motor is bad?
Signs of a failed motor include the fan not spinning at all, a humming noise with no blade movement, or the motor housing being hot to the touch. A multimeter test on the motor windings can confirm an open circuit.
Can I replace just the attic fan motor, or do I need a whole new unit?
In most cases you can replace just the motor. Motors are sold separately and cost $30 to $80 depending on horsepower. Full unit replacement makes sense only when the housing is damaged or the unit is more than 20 years old.
What causes an attic fan to stop working?
The four most common causes are a failed thermostat, a burned-out motor, worn or seized bearings, and a tripped breaker or blown fuse on the dedicated circuit.
What thermostat setting should I use for an attic fan?
Set the thermostat between 100 and 110 degrees Fahrenheit. The fan should kick on before the attic reaches dangerous heat levels and shut off once the temperature drops.
Is it safe to work on an attic fan myself?
Yes, with proper precautions. Always shut off the breaker to the fan circuit, verify power is off with a non-contact voltage tester, and work during cooler morning hours to avoid heat exhaustion in the attic.
How often should an attic fan be serviced?
Lubricate the motor bearings and clean the blade and housing once a year, ideally in early spring before cooling season begins. Test the thermostat at the same time.
Should I use a powered attic fan if my home already has a ridge vent?
No — combining a powered attic fan with an open ridge vent creates a short-circuit. The fan pulls replacement air through the ridge vent rather than drawing fresh air from soffit vents, bypassing the attic and reducing ventilation effectiveness. Worse, a strong powered fan can depressurize the attic enough to pull conditioned air from the living space through ceiling gaps, increasing cooling costs. The general guidance from building scientists is to choose one system: either passive ventilation with open soffit and ridge vents and no powered fan, or a powered fan with the ridge vent blocked or covered. Most homes with properly sized passive ventilation do not benefit from a powered attic fan.
What CFM rating do I need for my attic fan?
Attic fan sizing uses this formula: attic square footage × 0.7 = minimum CFM needed (for a standard 7-foot attic height). Add 15 percent for a dark-colored or steep roof that absorbs more heat. Example: a 1,500 sq ft attic needs at least 1,050 CFM (1,500 × 0.7). Most residential attic fans are rated 700 to 2,000 CFM — choose the model that meets or slightly exceeds your calculated minimum. For humid climates, use a multiplier of 1.0 instead of 0.7. The Home Ventilating Institute (HVI) recommends calculating based on full attic volume when ceiling height exceeds 8 feet.
Fixing a broken attic fan: (1) Turn off the circuit breaker. (2) If the fan doesn’t run at all: check the thermostat — attic fans have a built-in thermostat that triggers at ~100–110°F.
An attic fan that stops running can cause attic temperatures to soar past 150 degrees Fahrenheit on hot summer days, driving up cooling costs and shortening the life of your roof sheathing and insulation. Most failures are simple fixes — a bad thermostat, a motor replacement, or a lubrication job — that you can complete in a couple of hours with basic tools. This guide covers the full diagnostic and repair process.
Tools and Materials You Will Need
- Non-contact voltage tester
- Multimeter
- Phillips and flathead screwdrivers
- Adjustable pliers or nut driver set
- Replacement motor (matched to existing unit HP and frame size)
- Replacement thermostat (if needed)
- Electric motor oil or SAE 10 non-detergent oil
- Work gloves and safety glasses
- Bright flashlight or headlamp
Replacement attic fan motors in the 1/6 to 1/10 horsepower range cover most residential units. The Broan-NuTone Replacement Motor is a widely compatible option. For the thermostat, the Tjernlund AT1 Attic Fan Thermostat fits most brands and is field-adjustable from 60 to 120 degrees.
Step 1: Safety First — Kill the Power
Go to your electrical panel and turn off the breaker that feeds the attic fan circuit. If the breaker is not labeled, have a helper stand near the panel while you use a non-contact voltage tester at the fan to confirm which breaker controls it. Tape the breaker in the off position so no one flips it while you are working.
Step 2: Access the Attic Fan
Pull down the attic access hatch and climb up with your tools and flashlight. Attic fans are typically mounted in a gable vent louver or on the roof deck. Locate the unit and examine it from all sides before touching anything.
Step 3: Test the Thermostat
The thermostat is the most common failure point and the cheapest fix. Disconnect the two wires from the thermostat terminals. Use your multimeter set to continuity mode and touch the probes to the terminals — if you get no continuity when the temperature is above the set point, the thermostat is open and needs replacement.
Alternatively, bypass the thermostat temporarily by connecting the two wires directly together (with power still off). Restore power briefly at the breaker. If the fan now runs, the thermostat is confirmed bad. Shut power off again and install a replacement.
Thermostat replacement takes about 15 minutes: disconnect the old unit, connect the wires to the same terminals on the new one, set the dial to 100 to 110 degrees, and mount it in the housing.
Step 4: Check the Circuit Breaker and Wiring
If the thermostat is good, check the breaker — reset it if it has tripped. Inspect the wiring at the fan housing for any burned insulation, loose connections, or rodent damage. Tighten any loose wire nuts and replace any damaged wire sections before proceeding.
Step 5: Lubricate the Motor Bearings
Many fan failures are bearing seizures from lack of lubrication rather than true motor failure. Look for oil ports on the motor housing — small rubber plugs or holes near the shaft ends. Apply 2 to 3 drops of electric motor oil into each port. Spin the blade by hand. If the blade now turns freely and the motor hums and runs when power is restored, lubrication was the fix.
Do not use WD-40 on motor bearings — it is a solvent, not a lubricant, and will worsen the problem. Use only SAE 10 non-detergent oil or oil labeled specifically for electric motors.
Step 6: Test the Motor with a Multimeter
If lubrication does not solve it, test the motor windings. With power off, disconnect the motor leads from the wiring harness. Set your multimeter to resistance (ohms) and measure across the motor’s two lead wires. A burned-out motor will read infinite resistance (open circuit). A healthy motor reads a low resistance value, typically 5 to 50 ohms depending on size.
Step 7: Replace the Motor
If the motor has failed, order a replacement with the same horsepower, frame size, and shaft diameter as the original. The motor nameplate has all these specs.
- Remove the fan blade from the shaft — it is usually secured with a setscrew or nut at the hub.
- Unbolt the motor from the mounting bracket (typically two to four bolts).
- Disconnect the motor leads.
- Mount the new motor to the bracket, reconnect the leads matching wire colors, and reinstall the blade.
- Spin the blade by hand to confirm it clears the housing with no rubbing.
Step 8: Clean the Fan Blade and Housing
While you have the fan apart, clean dust and debris from the blade surfaces and the housing louvers. A clogged housing reduces airflow efficiency significantly. Use a damp cloth or a vacuum with a brush attachment.
Step 9: Restore Power and Test
Turn the breaker back on. Use a heat gun or hairdryer to warm the thermostat above its set point — the fan should start within a few seconds. Let it run for two to three minutes and listen for unusual noise. A slight hum is normal; grinding or rattling indicates a blade rubbing the housing or a bearing still in poor condition.
Preventing Future Failures
- Oil the motor bearings every spring and fall.
- Keep the gable or roof louvers clear of wasp nests and debris.
- Test the thermostat by hand at the start of each cooling season.
- Consider upgrading to a solar-powered attic fan — units like the Natural Light 36-Watt Solar Attic Fan require no wiring and have no operating cost.
A functioning attic fan can reduce attic temperatures by 40 to 50 degrees and cut cooling costs by 10 to 15 percent. With the motor or thermostat replaced, your attic will stay ventilated through the hottest months of the year.
Related guides
- How to Seal Leaky Ductwork — seal attic duct leaks that undermine the fan’s ability to cool effectively
- How to Fix a Blocked Attic Soffit Vent — ensure intake air can flow in while the fan exhausts hot air out
- Attic Insulation Cost Guide — insulation and ventilation work together to control attic heat
- Safety First — Kill the Power
Go to your electrical panel and turn off the breaker that feeds the attic fan circuit. If the breaker is not labeled, have a helper stand near the panel while you use a non-contact voltage tester at the fan to confirm which breaker controls it.
- Access the Attic Fan
Pull down the attic access hatch and climb up with your tools and flashlight. Attic fans are typically mounted in a gable vent louver or on the roof deck. Locate the unit and examine it from all sides before touching anything.
- Test the Thermostat
The thermostat is the most common failure point and the cheapest fix. Disconnect the two wires from the thermostat terminals.
- Check the Circuit Breaker and Wiring
If the thermostat is good, check the breaker — reset it if it has tripped. Inspect the wiring at the fan housing for any burned insulation, loose connections, or rodent damage.
- Lubricate the Motor Bearings
Many fan failures are bearing seizures from lack of lubrication rather than true motor failure. Look for oil ports on the motor housing — small rubber plugs or holes near the shaft ends. Apply 2 to 3 drops of electric motor oil into each port.
- Test the Motor with a Multimeter
If lubrication does not solve it, test the motor windings. With power off, disconnect the motor leads from the wiring harness. Set your multimeter to resistance (ohms) and measure across the motor's two lead wires.
Free: 10-Point Home Maintenance Checklist
Prevent costly repairs with this seasonal checklist. Save hundreds every year by catching problems early.
Your checklist is ready!
Open Checklist →Something went wrong. View the checklist here.