How to Replace an AC Capacitor: $8–$30 DIY Fix in 30 Minutes (Avoid a $200–$400 Service Call)
AC capacitor replacement costs $8–$30 at any HVAC supply store. Discharge the old capacitor, match the µF and VAC rating, swap it out. Most homeowners finish in under 30 minutes with a screwdriver and needle-nose pliers.
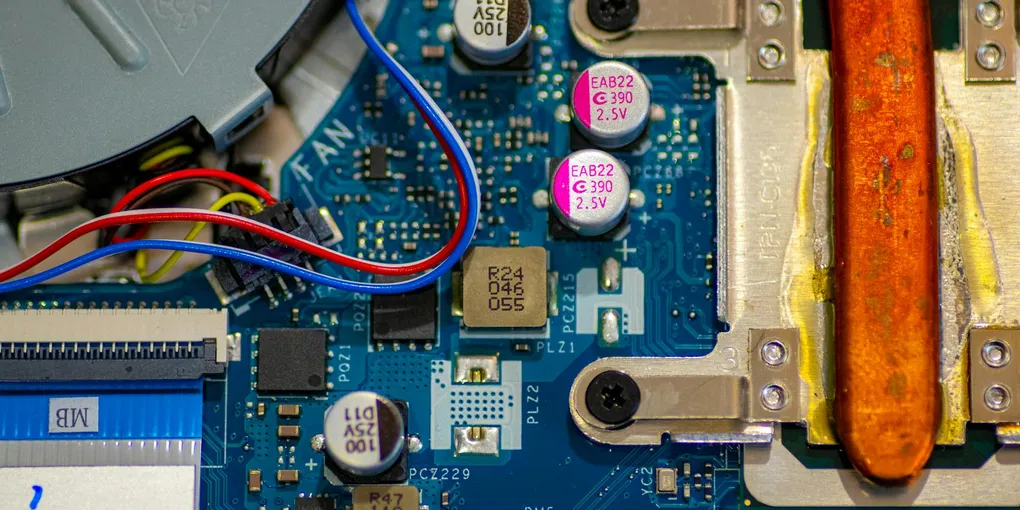
Replacing an AC capacitor: (1) Symptoms of a bad capacitor: AC won't start, hums without cooling, or the outdoor fan spins sluggishly or only when pushed. (2) Turn off power at the disconnect box next to the unit AND at the breaker. (3) Remove the access panel on the outdoor unit. (4) IMPORTANT: Capacitors store charge — use an insulated screwdriver to discharge by touching the metal blade across the terminals before handling. (5) Photograph the wiring before disconnecting. (6) Match the replacement capacitor's microfarad (MFD) and voltage ratings exactly — buy from an HVAC supply house or Amazon ($15–$40). (7) Install the new capacitor, reconnect wires per your photo, replace the panel. This is one of the most cost-effective DIY HVAC repairs — an HVAC tech charges $150–$300 for the same job.
Frequently Asked Questions
How do I know if my AC capacitor is bad?
Common signs include the AC unit humming but not starting, the fan spinning slowly or not at all, the system shutting off shortly after starting, or a visible bulge or burn mark on the capacitor itself.
Is it safe to replace an AC capacitor myself?
Yes, with proper safety precautions it is a manageable DIY repair. The most critical step is fully discharging the capacitor before touching it, as it can hold a lethal charge even after the power is off.
How much does a replacement AC capacitor cost?
A replacement run or dual-run capacitor typically costs between $10 and $30 at a hardware store or online, compared to $150 to $300 for a professional service call covering parts and labor.
What is the difference between a run capacitor and a start capacitor?
A run capacitor keeps the motor running smoothly during normal operation, while a start capacitor provides an extra boost of power to get the motor started. Many modern AC units use a dual-run capacitor that handles both functions in one unit.
Can I use a capacitor with a different microfarad rating?
You should match the microfarad (uF) rating as closely as possible, ideally exactly. The voltage rating of the replacement can be equal to or higher than the original. Using a significantly different uF rating can damage the motor.
How long do AC capacitors typically last?
Most capacitors last 10 to 20 years, but heat, age, and power surges can shorten their lifespan. Capacitor failure is one of the most common AC service calls, especially on older units.
What happens if I keep running my AC with a failing capacitor?
Running the AC with a weak or failed capacitor forces the compressor and fan motors to draw excess current to start and sustain operation. This overloads the motor windings, dramatically shortens motor life, and can result in a burned-out compressor — a $1,000 to $2,000 repair versus a $20 capacitor. If your unit hums, struggles to start, or runs sluggishly, shut it off and replace the capacitor before continuing to use it. Continued operation accelerates motor failure in proportion to how degraded the capacitor is.
How do I test an AC capacitor with a multimeter?
Set your multimeter to capacitance mode (labeled CAP, µF, or marked with two parallel lines). Discharge the capacitor first by briefly touching an insulated screwdriver blade across the terminals. Touch the multimeter probes to the capacitor terminals. The reading should be within 6 percent of the rated MFD value printed on the capacitor label. A reading below 80 percent of rated MFD indicates a weak capacitor that will cause starting problems and should be replaced. A reading of zero or OL (overload) indicates a fully failed capacitor. Not all multimeters have a capacitance setting — a dedicated capacitor tester (available for under $20) is an alternative.
Replacing an AC capacitor: (1) Symptoms of a bad capacitor: AC won’t start, hums without cooling, or the outdoor fan spins sluggishly or only when pushed. (2) Turn off power at the disconnect box next to the unit AND at the breaker.
When your air conditioner hums, clicks, or refuses to start on a hot day, a failed capacitor is often the culprit. Capacitors are small cylindrical components inside the outdoor condenser unit that store and release electrical energy to start and run the compressor and fan motors. Replacing one is one of the most cost-effective AC repairs a homeowner can tackle — parts cost as little as $15, and the job takes under an hour.
Safety First: Discharge the Capacitor
Before you touch anything inside the electrical panel of your AC unit, shut off power at two locations: the outdoor disconnect box (a small metal box on the wall near the condenser) and the breaker in your main panel. Even with power off, a capacitor can hold hundreds of volts for hours.
To safely discharge it, use an insulated screwdriver with a rubber handle and briefly touch the metal shaft between the terminals labeled HERM, FAN, and C (common). You may see a small spark — that is normal. Do this for each pair of terminals until no spark occurs.
Tools and Materials You Will Need
- Replacement capacitor (matching voltage and microfarad rating)
- Insulated screwdrivers (flathead and Phillips)
- Needle-nose pliers
- Multimeter (to confirm failure and verify discharge)
- Camera or phone (to photograph wiring before disconnecting)
A Klein Tools insulated screwdriver set is ideal for this job. A digital multimeter with a capacitance testing function lets you confirm the old capacitor has failed before ordering a replacement.
Step 1: Access the Capacitor
Remove the screws securing the service panel on the side of the condenser unit and set the panel aside. The capacitor is the cylindrical or oval-shaped component secured with a metal bracket. It will have two or three terminals on top with wires attached.
Step 2: Photograph the Wiring
Take a clear photo of the terminal connections before removing a single wire. Capacitor terminals are labeled HERM (for the compressor), FAN, and C (common). Getting these wrong when reinstalling will prevent the unit from running or can damage the motors.
Step 3: Note the Ratings
Read the label on the old capacitor and note the voltage rating (typically 370V or 440V) and the microfarad (uF) rating for each terminal. For a dual-run capacitor you will see two uF values separated by a plus sign, such as 45+5 uF. Order or buy an exact replacement rated at these same values.
Step 4: Remove the Old Capacitor
Use needle-nose pliers to pull the wire connectors off the terminals — do not yank the wires themselves. Loosen the bracket screw and slide the old capacitor free.
Step 5: Install the New Capacitor
Slide the new capacitor into the bracket and tighten the screw snugly. Reconnect each wire to the correct terminal matching your photo. The connectors should snap on firmly. A replacement dual-run capacitor sized for your unit can be found at most HVAC suppliers and online.
Step 6: Restore Power and Test
Replace the access panel, restore power at the disconnect box and the breaker, then switch on the thermostat. The compressor and fan should start normally within a few seconds. If the unit still hums without starting, the compressor or fan motor itself may have failed — in that case, professional service is the next step.
Maintenance Tips
- Inspect the capacitor visually each spring before cooling season. A bulging top or oily residue underneath indicates failure is imminent.
- Keep the condenser coils clean and the area around the unit free of debris to reduce heat stress on electrical components.
- Install a surge protector on your AC circuit to protect capacitors and other components from power spikes.
Replacing an AC capacitor is one of those repairs that pays for itself immediately. Spending $20 on a part instead of $250 on a service call is a satisfying win — and once you have done it once, you will always know exactly what that ominous hum means.
- Access the Capacitor
Remove the screws securing the service panel on the side of the condenser unit and set the panel aside. The capacitor is the cylindrical or oval-shaped component secured with a metal bracket.
- Photograph the Wiring
Take a clear photo of the terminal connections before removing a single wire. Capacitor terminals are labeled HERM (for the compressor), FAN, and C (common).
- Note the Ratings
Read the label on the old capacitor and note the voltage rating (typically 370V or 440V) and the microfarad (uF) rating for each terminal. For a dual-run capacitor you will see two uF values separated by a plus sign, such as 45+5 uF.
- Remove the Old Capacitor
Use needle-nose pliers to pull the wire connectors off the terminals — do not yank the wires themselves. Loosen the bracket screw and slide the old capacitor free.
- Install the New Capacitor
Slide the new capacitor into the bracket and tighten the screw snugly. Reconnect each wire to the correct terminal matching your photo. The connectors should snap on firmly.
- Restore Power and Test
Replace the access panel, restore power at the disconnect box and the breaker, then switch on the thermostat. The compressor and fan should start normally within a few seconds.
Free: 10-Point Home Maintenance Checklist
Prevent costly repairs with this seasonal checklist. Save hundreds every year by catching problems early.
Your checklist is ready!
Open Checklist →Something went wrong. View the checklist here.